How to Make Skin Color – Understanding Flesh Color and Tones
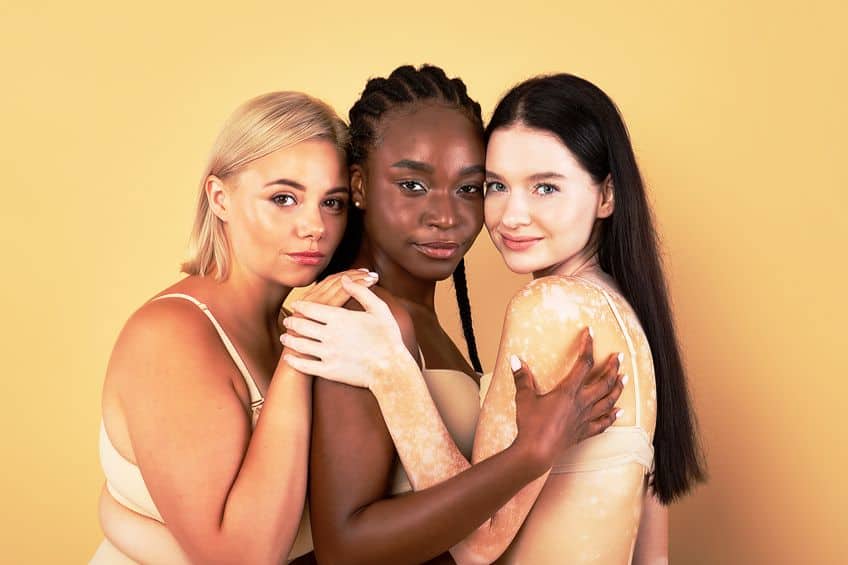
The beauty of human diversity lies in the exquisite hues that color our skin, ranging from deep shades of chocolate brown to the fairest of ivory. Skin tone is a stunning expression of our genetic heritage and individuality. The art of creating your own skin color is a fascinating subject, and one that has been studied for centuries, from ancient cultures using natural pigments to modern day cosmetics that use advanced chemical formulas. Today, we will be delving into the intricacies of how to make skin color with paint, acrylics, and watercolors, as well as explore the various factors that contribute to the final result. So, buckle up and get ready to embark on a journey into the world of skin color – one that is sure to leave you with a newfound appreciation for the beauty of human diversity.
Basic Things to Know About Skin Tones
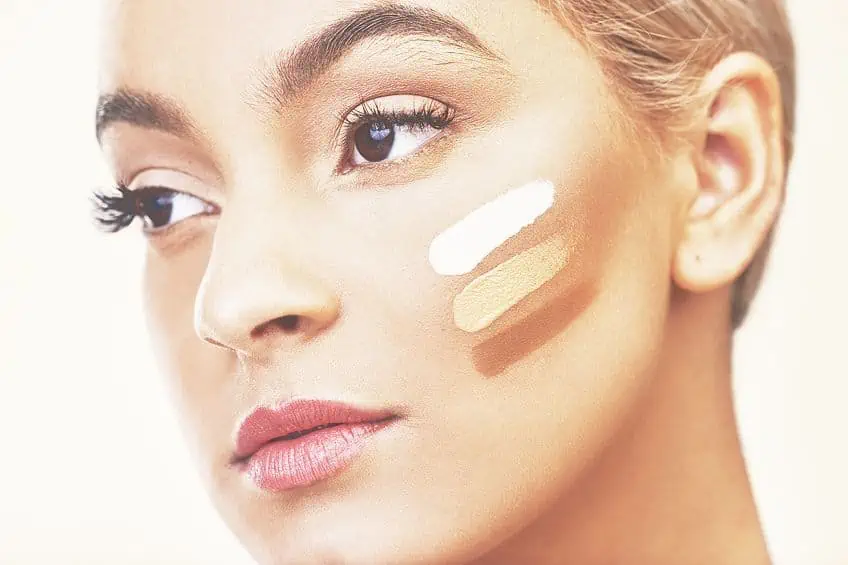
The art of painting has long been a beloved and celebrated form of human expression, and one of the most important elements in any painting is the depiction of skin tones. From the richly pigmented hues of oil paints to the soft washes of watercolor, understanding how to make skin color with acrylic paint and other paints in a realistic manner is a critical skill for any artist. So, what are some of the basic things to consider when painting skin tones in your personal or professional projects? Firstly, it is important to understand that skin tones can vary widely depending on a range of factors, including ethnicity, age, and lighting.
A deep understanding of color theory and the properties of pigments is essential in order to achieve a realistic and nuanced flesh color.
Pinpointing Your Ideal Flesh Tone
When it comes to painting portraits, one of the most critical skills an artist can possess is the ability to pinpoint the ideal flesh color for their projects. Capturing the subtle hues and nuances of human skin can be a challenging task, but with the right approach and a keen eye for detail, it is more than possible to create lifelike and engaging portraits that truly capture the essence of the subject. So, it is important to consider the lighting and setting of your subject, as skin tones can vary widely depending on the amount and direction of light present in the scene, as well as the surrounding environment.
Understanding how these factors can impact skin tone is essential in order to create a realistic and engaging portrait.
Another key consideration when pinpointing your ideal flesh tones is the use of color theory. Understanding how to mix and blend warm and cool colors can help you create lifelike flesh tones that capture the more subtle details of the subject’s complexion. Careful observation and attention to detail are also critical in order to accurately depict the subtle variations in skin tone that make each individual unique. However, when it comes to selecting the specific colors to use in your painting, there are many factors to consider. Some artists prefer to use a limited palette, selecting just a few key colors that can be mixed to create a range of skin tones. Others prefer to use a wider range of colors in order to create a more nuanced and complex portrait.
Experimentation and practice are key in order to determine the approach that works best for your style and technique.
Bringing Together Your Family of Shades
When it comes to combining your family of flesh tone inspired shades within your own paintings, there are a few things to keep in mind. For instance, it is important to consider the lighting conditions in which the painting will be viewed. Natural daylight, fluorescent and incandescent bulbs each have different color temperatures that can affect the appearance of skin tones. It is also crucial to remember that the subject’s undertone can range from cool blues and greens to warm yellows and oranges, all of which can have a significant impact on the overall appearance of the lighting within your scene.
In order to bring together a family of flesh tones, an artist must carefully consider these variables and make adjustments accordingly, which may involve mixing different colors and adding highlights and shadows to create depth and dimension.
It may even involve using different brush strokes and techniques to achieve the desired look. However, the true artistry of painting skin tones lies not only in the technical skill, but also in the ability to capture the unique personalities and characteristics of each individual. A skilled artist can bring out the twinkle in a person’s eye, the curve of their smile, the subtle nuances that make them who they are. It is this attention to detail that transforms a portrait painting from a mere likeness to a true work of art.
The Basic Shades of Skin Tones and How to Mix Them
When learning how to make skin color with paint, it remains important, as an artist, to understand the basic shades of skin tones, as it is crucial to capturing the essence and character of the human form. There are many factors that influence skin tone, including genetics, ethnicity, age, as well as environmental factors. However, below we have left a basic skin color mixing chart of the most common shades used for painting skin tones, as well as some general guidelines that can be followed to create a range of skin tones in painting.
| Skin Color | Hex Code | RGB | CMYK Color Code (%) | Shade of Skin |
| Burnt Sienna | #733e26 | 115, 62, 38 | 0, 46, 67, 55 | |
| Russet | #88513a | 136, 81, 58 | 0, 40, 57, 47 | |
| Copper | #be794a | 190, 121, 74 | 0, 36, 61, 25 | |
| Peach | #d8905f | 216, 144, 95 | 0, 33, 56, 15 | |
| Sand | #e7b38d | 231, 179, 141 | 0, 23, 39, 9 | |
| Apricot | #ffcba3 | 255, 203, 163 | 0, 20, 36, 0 | |
| Nude | #e6c8b0 | 230, 200, 176 | 0, 13, 23, 10 | |
| Coral | #ffe2c9 | 255, 226, 201 | 0, 11, 21, 0 | |
| Blush | #e4bdad | 228, 189, 173 | 0, 17, 24, 11 | |
| Salmon | #ffd6c5 | 255, 214, 197 | 0, 16, 23, 0 |
How to Mix Lighter Skin Tones
- Generally speaking, painting skin tones that are of a lighter complexion is far easier to achieve. You will only be needing three main colors, namely red, yellow, and blue in equal amounts.
- After mixing these colors together, you can then use either white or only a bit more yellow in order to lighten the color of your paint mix.
- However, if you are simply wanting to lighten the overall shade without adding much extra color, then subtle amounts of white will do just the trick.
How to Mix Medium Skin Tones
- As your skin tone reaches the midpoint of the color spectrum, there comes a sudden increase in the possible color variations involved.
- Medium skin tones will most commonly utilize colors such as peach or sand from your skin color mixing chart.
- Before you get started, it is common practice to start mixing together a medium skin tone by creating an orange shade using red and yellow paints. This ratio will depend on whether you are looking to achieve a tan flesh color or one that is more pink.
- Once you have attained your desired shade, begin to add small amounts of blue paint. Be sure to remain slow and careful, as you can always add more blue, but never take some out.
- To darken your skin tone, you can add an incredibly minute amount of black paint.
- Another method you can use is to mix burnt umber with raw sienna during step one, creating a much darker flesh tone. You can do this instead of combining blue into your mix, which will create a more olive skin tone.
How to Mix Darker Skin Tones
- Progressing to the darker end of the flesh color spectrum, creating the perfect skin shade becomes a bit more difficult. To ease you into this process, we recommend that you start your mixing process with red, yellow, purple, raw sienna, and burnt umber.
- This process will start off by mixing two separate base undertones. Mix together equal amounts of burnt umber and raw sienna, which will stand as the initial undertone for your base.
- Your second undertone will include red and yellow in equal amounts. You will then take these base undertones and mix them together, which now makes up your base shad.
- To create highlights and details use purple, yellow, and red. Darker shade variations can be achieved with extra purple.
- Due to the large number of colors present within this mix, using black paint to darken your paint will only risk making it look muddy, although dark gray may be a better alternative.
- For your highlights, subtle amounts of yellow should be added to your base shade. For a rosier shade, you can add a bit more red paint to your mix.
Creating Variations in Your Skin Tone
It should come as no surprise that the human form can be seen as a canvas of diversity, with skin tones that range from the lightest of ivories to the deepest of ebonies. This variation is only extended when looking at how light hits and interacts with your subject, as well as when deciding how much blush is present on their skin. As an artist, this can be one of the most captivating processes within the greater whole, the techniques of which we will be exploring below.
Crafting Skin Tones That Are Hit By or Hidden from Light
- The first step in learning how to make skin color with paint when working with different light sources is to identify the light source itself. This will determine the direction and intensity of the light, which will affect the way in which your skin tone is portrayed. Take note of where the light is coming from and how it interacts with your subject’s skin.
- Once your light source has been identified, you can begin to select your base colors. For skin tones that are hit by light, you will want to start with a lighter base color and gradually add in brighter, warmer tones to create the illusion of light reflecting off the skin. Skin tones that are hidden from light will have you starting with a darker base color, gradually adding cooler and more muted tones to create the illusion of shadows.
- Once this has been achieved, you will then want to add depth and layers. When your skin tone is hit by light, you can use a technique called glazing to add layers of transparent color over your base to create a subtle shift in tone. Hidden from light, however, you can use a different technique called scumbling to add layers of opaque color over the base to create a textured and shadowy effect.
Crafting Skin Tones With Blush
- In order to apply just the right amount of blush to your skin tone, you will first need to choose your subject’s base color. This color should mimic the natural tone of the skin, which you can mix by combining colors such as cadmium yellow, alizarin crimson, and titanium white. Mix these together until you have reached your desired tone.
- Moving on, you will now need to identify where your subject’s blush would occur on their face most naturally. This would typically be found on the cheeks, but can also occur on the nose, forehead, or the chin, depending on the subject’s complexion and the lighting conditions present.
- Following this, you will then need to add some blush by choosing warm, rosy colors and applying it sparingly to the appropriate areas of the face. You can achieve the best results by using a small brush with light, feathery strokes to apply your colors, gradually building up the intensity until you have reached your desired look.
- Now, to make your blush appear more natural, it is important to blend and soften the edges. By using a clean brush or blending tools, you should gently blend the edges of the blush into the surrounding skin tone, which will create a subtle transition from your base color into your blush.
How to Make Skin Color With Different Paint Types
With so many different types of paint available, it can be challenging for the average artist to know where to start when it comes to approaching the right skin color mixing chart, techniques, and medium. Whether you decide to work with oils, acrylics, or even watercolors, understanding the fundamentals of color theory and paint mixing is crucial. In this guide, we will explore how to make skin color with different paints, taking you through the process of creating realistic and vibrant skin tones that will breathe life into your artwork.
How to Make Skin Color With Oil Paints
While many would see the slow-drying nature of oil paints as a setback with a potential for error, this is a characteristic that actually makes it ideal for mixing skin tones. In fact, alongside the wide range of colors that are on offer that allow for greater yet subtle variations in skin tone, you can mix and store a large batch of your chosen oil paint base tone to be used for longer! This is far more than can be expected when using a color mixing chart for acrylic paint, or most other mediums for that matter. Thankfully, however, the mixing process when using oil paints does not deviate much from the guides we have provided above.
You start just as you normally would, by combining a red and yellow shade in order to make a shade of orange. Mixing in a small amount of a blue shade will darken your tone while adding some more depth.
Next, we suggest that you mix in a small amount of white paint to create your final base flesh tone. For a lighter or darker complexion, simply add more black or white paint as necessary while referring to the skin color chart above. Starting with a green base while using oil paint is also a possibility, all you need to do is mix together some blue and yellow paint. Following this, you add in some red or orange paint to create a warmer complexion, before adding in some white or blue paint for a lighter or darker tone respectively.
How to Make Skin Color With Acrylic Paint
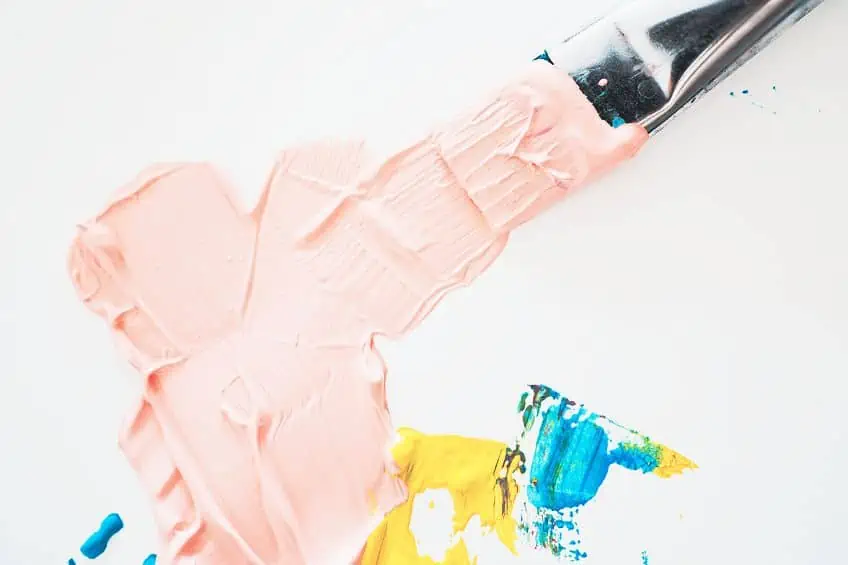
When using a skin color mixing chart for acrylic paint, there are a few issues that first need to be understood before you begin. While this is a medium that is easily attainable and can be wonderful to work with, this is a paint that has a rather speedy drying process, so expect to mix your base shade from scratch more than once. Aside from this, mixing skin tones with acrylic paint is no different from using oil paints. Due to its quick drying characteristics, you may find it helpful to take note of the measurements of each shade of paint you have used for easier reference in the future for later projects.
These shades remain the same when making your base skin tone, starting with a little red, yellow, and blue, with just a small amount of white.
Equal amounts of each primary color should be used to create a dark shade of brown, acting as the foundation of your desired skin tone. Following this, you will need to adjust this brown tone to create your base flesh color. Much like oil paints, using white can lighten your skin tone while blue can help you darken it. To add some blush, simply add in small amounts of red before blending, and you can also turn to yellow to lighten and brighten your skin tone too!
Using Watercolor Paints to Make Skin Color
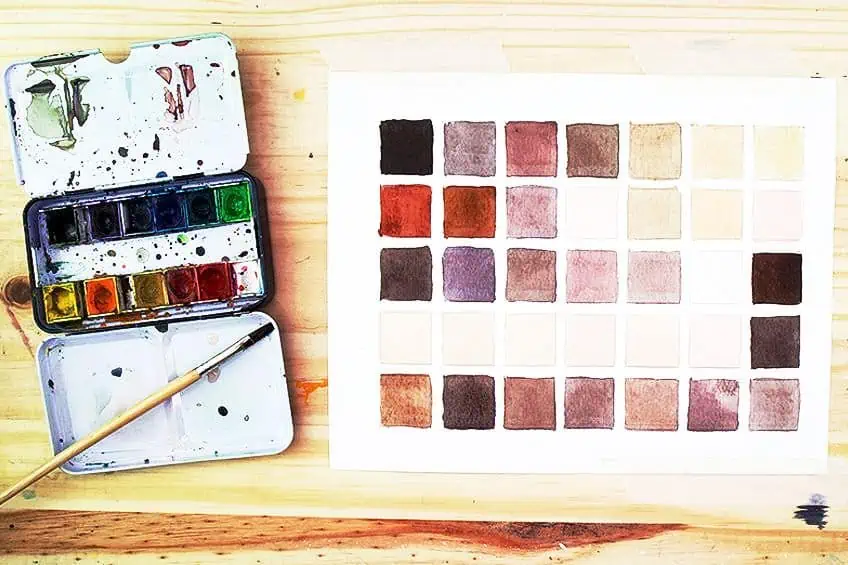
Despite its widespread use in pre-schools, watercolor paints may actually be the most difficult to work with, especially when it comes to mixing skin tones. Much like acrylic paints, watercolors appear much lighter when dry than it does when wet. Because of this, we suggest that you mix your skin tones on a nearby sheet of paper. To start your flesh tone off, simply start by adding in small amounts of yellow, blue, and red.
Once you have mixed these together, you should be left with an orange-brown color, acting as your base color.
Adjust these colors to achieve your ideal skin tone, while even adding in a small amount of green if necessary. When using watercolors, we suggest that you practice great caution when adding black and white paints to your mix. White paint can leave your skin tones looking translucent, while black paint can leave your end result looking muddy. As a result, we suggest that you turn to brown paint to darken your skin tone, while using yellow to lighten it.
Our Top Tips and Tricks for How to Make Skin Color Paint
Although we may have left you with a number of helpful guides that can help you navigate your way around mixing skin tones using different paints and mediums, below are a number of extra tips and tricks that may help you further your practice into the world of art.
Do Some Color Matching Exercises
Color matching exercises can be a fun and challenging way to improve your own painting skills, while helping you develop a better understanding of color theory too. These exercises will typically involve you matching a given color with a set of other colors using nothing more than your paint palette and mixing skills. By practicing this on a regular basis, you will soon learn how to blend colors more effectively, how to create more nuanced shades and tones, and how to develop a better eye for color in general.
Whether you are a beginner, or even a seasoned veteran, taking the time to do some color-matching exercises can be an invaluable and endlessly rewarding portion of your creative practice.
Always Consider Your Light Source
No matter which medium of paint you are working with, the way in which you handle your light source can make all the difference in creating a dynamic and engaging work of art. Specifically speaking, it is important to consider the direction and intensity of the light present in your project, as this will have a rather major impact on the colors, shadows, and highlights within your painting. By making a careful effort to think about your light source and incorporating it into your own works, you can be sure to create paintings that are filled with depth, dimension, and visual interest, capturing the essence of your subject in a truly captivating manner.
Be Very Cautious When Making Your Skin Tones Darker
We all know how tempting it can be to darken your skin tones to add depth and contrast to your works. However, it is important to approach this process with caution, as making your skin tones too dark can result in a flat and unappealing appearance that lacks any real subtlety and nuance found in real-life skin.
To avoid this, it is important to work in a careful and gradual manner, using only thin layers of paint to build up darker shades over time.
You can also experiment with mixing in other colors to create more complex and realistic skin tones, but do be careful as to not go too far and lose the natural warmth and glow that makes skin so compelling to behold. By approaching your painting with care and attention to detail, you can create skin tones that are rich, dynamic, and full of life.
To end things off, making flesh tone paint is a skill that takes time and practice to truly master, but the result can be truly stunning. Whether you plan on working with oil paints, acrylics, or any other medium, it remains important to experiment with different colors and techniques to create the perfect shade for your painting. Remember to consider the lighting and shading on your subject, and do not be afraid to mix in other colors to create a more nuanced tone. By developing your painting skills and experimenting with different approaches, you too can create skin tones that remain realistic, captivating, and full of life. So, take your time, be patient, and enjoy the journey of creating your own unique and beautiful works of skin-toned art.
Frequently Asked Questions
How to Make Skin Color Paint?
The colors you will need to mix your desired skin tone will depend entirely on the specific skin tone you are looking to achieve, as well as the medium you are using. However, you will generally want to start with a base color such as red, yellow, or brown in equal amounts, and then incorporate other colors such as white, black, blue, and even green in small amounts to create your desired hue.
Can I Mix Skin Tones With Any Type of Paint?
Yes! You can mix your desired skin tone using any type of paint, including oil paints, acrylics, and even watercolors too. However, the specific colors and techniques you use may vary depending on the medium you are working with.
Megan is a writer and researcher who holds a degree in Social Sciences, with a specialization in Psychology and Environmental Science, from the University of Cape Town. Her dedication to acquiring knowledge and making a positive impact has driven her current work in promoting conscious and sustainable growth in Southern Africa. Megan’s interests encompass exploring the physical and psychological impacts of color in our environment on our mood and well-being. She is also passionate about the role of art and creativity, which has been an integral part of society since the beginning of human history. Since 2022, Megan has been contributing blog posts on painting and color theory at artfilemagazine.
Learn more about Megan van Schoor and about us.
Cite this Article
Megan, van Schoor, “How to Make Skin Color – Understanding Flesh Color and Tones.” artfilemagazine – Your Online Art Source. May 24, 2023. URL: https://artfilemagazine.com/how-to-make-skin-color/
van Schoor, M. (2023, 24 May). How to Make Skin Color – Understanding Flesh Color and Tones. artfilemagazine – Your Online Art Source. https://artfilemagazine.com/how-to-make-skin-color/
van Schoor, Megan. “How to Make Skin Color – Understanding Flesh Color and Tones.” artfilemagazine – Your Online Art Source, May 24, 2023. https://artfilemagazine.com/how-to-make-skin-color/.


