
Acrylic Paint on Plastic – Learn How to Apply Acrylic Paint to Plastic
Plastics form part of our ordinary lives and there are many reasons to paint and reuse them. But have you ever painted a beautiful design on plastic, only for it to peel off within a few days? Acrylic paint is a very versatile medium that can be used on lots of different surfaces, from wood to glass, and even plastic. Ensuring that acrylic paint lasts on plastic can take some know-how, so we have created this beginner-friendly step-by-step guide to painting plastic with acrylic paint.
Why Should You Paint Plastic?
Knowing how to paint plastic can be a very useful and money-saving tool. Furniture in your home such as garbage cans or plastic chairs can be painted to create a small and inexpensive change that can add more character to a room or breathe new life into an old item. Painting outside furniture particularly, can extend its life by adding a protective coating that can be reapplied and buffers it from the elements.
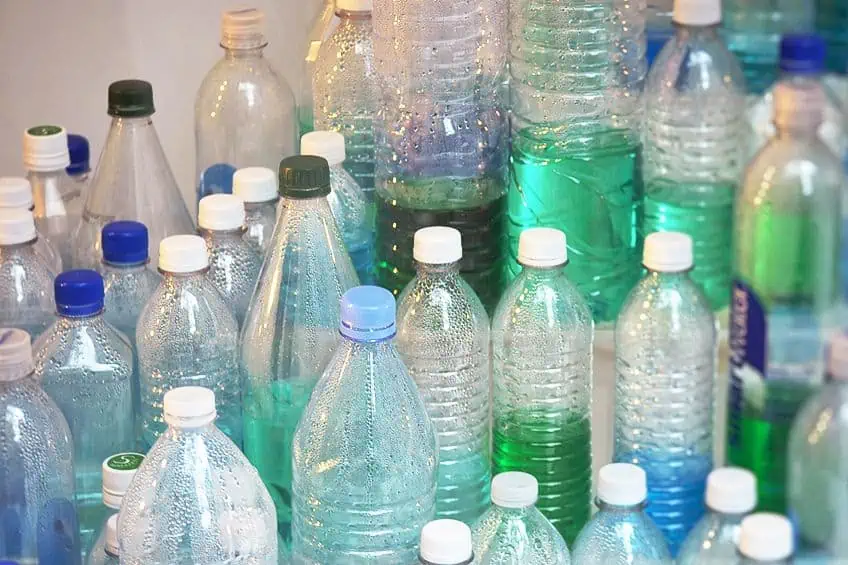
Painting plastic also offers more practical benefits, allowing you to repurpose and reuse those empty jars and jugs or add labels to plastic storage containers and baskets.

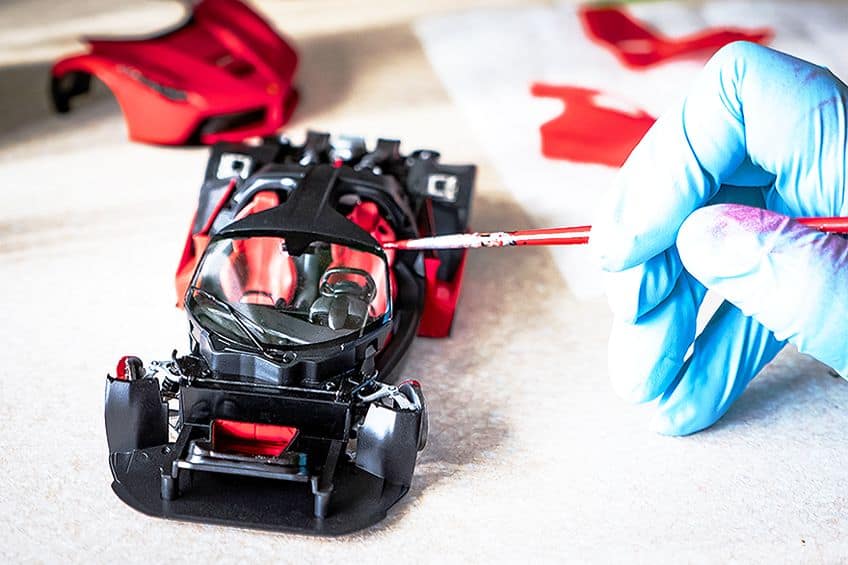
This is not only a more environmentally friendly option than just throwing the non-biodegradable plastics away, but also can help you organize your space and give you an idea of what is in these containers at a glance. Use acrylic paint for plastic to elevate plain plastic flower pots and make them more visually interesting or refurbish old toys by touching up faded areas. Painting on plastic can also make for a fun afternoon activity for the whole family that leaves you with a lasting piece to remember.
What Is Acrylic Paint?
Acrylic paint is a water-based paint and is one of the best paints for both beginners and professionals. This paint is highly versatile, non-toxic, and more forgiving, and easier to use than oil and watercolor paints. Acrylic paints are generally inexpensive and widely available in a large variety of colors and opacities.
There is also a wide range of mediums that can be added to acrylic paints that can thin, thicken, and even add texture and different effects to your acrylic paint that can help you achieve the look you want.
Painting Plastic
There are a few different varieties of plastic and not all of them can be easily painted. Polyvinyl chloride (PVC) is a type of plastic that is mainly used in construction and building materials. This plastic is great to paint as it tends to have a rougher surface, although some contain plasticizers, which are used to increase their flexibility and can cause some problems with getting the paint to adhere.
Polyethylene terephthalate (PET), polybutylene terephthalate (PBT), and polypropylene (PP) are very difficult to paint.
These plastics are mainly used in food or drink packaging, and painting it requires thorough surface preparation, a primer, and a sealant to be successful. High-density PET can also be painted with proper surface preparation and the use of a primer. Other plastics like polyamide and polycarbonate are more unpredictable when it comes to painting them, and you should experiment with them to see if the paint will last.
Using Acrylic Paint on Plastic
Since plastic is so notoriously difficult to paint, you might be wondering, will acrylic paint stick to plastic? Acrylic paints offer an affordable and easily available option for painting plastic that can last for many years with the proper preparation and application. Oil and enamel paints adhere better to plastic and do not require as much prep work as acrylic paints do; however, they are much more difficult to use. Unlike acrylic paints, oil, and enamel paints are toxic and have bad fumes, which means you should only use them in a well-ventilated area and always supervise children. These paints also have a much longer drying time, which can turn an afternoon project with acrylic paint into a weekend-long one with oils.
Acrylic paint is also much more flexible than these paints and retains this flexibility when dry. This makes them better to use on plastics that flex and change shape as they are more resistant to cracking.

Like all paints, acrylic paints come in different qualities including craft grade, student grade, and professional grade paints. Student-grade paints are perfect for quick DIY projects as they are less expensive than professional-grade paints but of a higher quality than your craft-grade paints. Student-grade paints are vibrant, stay true to color, are resistant to fading, and usually come in the same [broad variety] that professional paints do. They also adhere better to plastics than craft paints, giving your projects much more longevity.
Making Acrylic Paint on Plastic Last
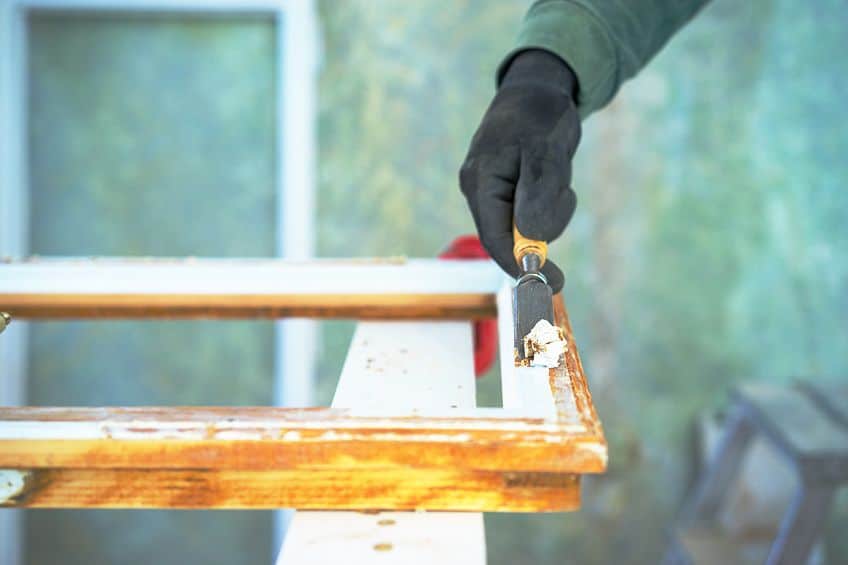
You may have tried to paint plastic before only for it to peel off after it dries. Plastic is a very non-porous material with a smooth surface, which does not paint to permeate and stick to it. Because of this, without proper preparation of the surface, your paint will not last. To prepare your plastic, its surface will need to be sanded, washed, and primed before your first layer of paint. By sanding the plastic’s surface with a fine grit sandpaper or even a liquid deglosser, you create a rougher surface for your paint to easily stick to.
Washing after sanding ensures that there is no dirt, dust, or residues on the plastic’s surface that can interfere with your paint.
You can use special plastic cleaners to get the job done, however, plain soap and water along with some rubbing alcohol will work fine for relatively clean plastics. After sanding and washing it, a primer or base coat must be applied to ensure that your paint adheres. There are many different surface primers available, but you should opt for a plastic or all-surface primer such as the PRO Professional Primer from Krylon. These primers not only provide a better surface for your acrylic paint but also seal the plastic and can prevent plasticizers from leaking into your paint and reducing its longevity.

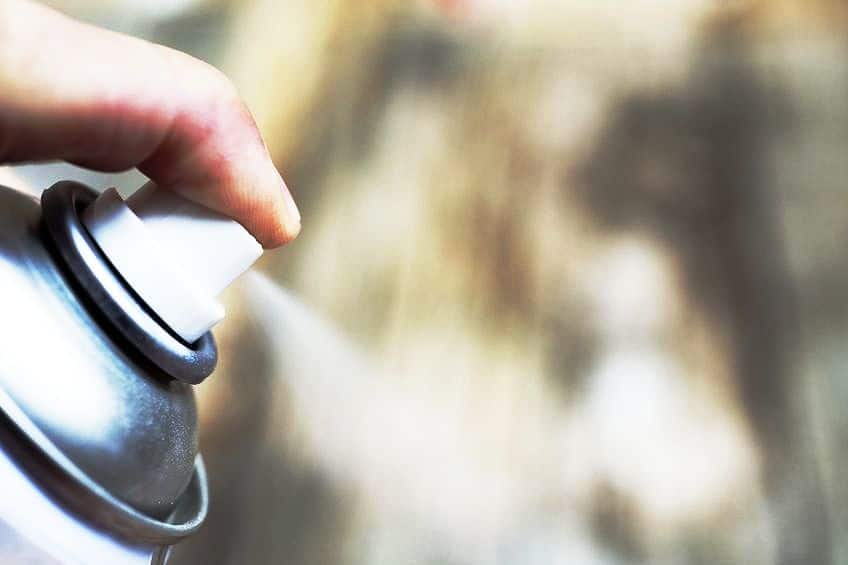
An acrylic enamel spray paint or any other paint designed to bond to plastic can also be used in place of a primer, however, these are less effective and may not prevent plasticizers from certain plastics seeping through. Once it has been primed you can now paint with your acrylic paint on plastic. If the item you are painting will be handled often, your acrylic will need some help from a sealant. Adding a special sealant or varnish over your finished piece will ensure that your design lasts longer and is protected from dust, dirt, and water.
Eventually, acrylic paint will come off your plastic, however, preparing your surface well and using the correct sealants will dramatically increase its longevity.
Step-by-Step Guide to Acrylic Painting on Plastic
To ensure that your acrylic paint will stick to plastic you will need to prepare for success. Having the right tools will not only make the process of painting plastic much easier but will also ensure that your piece lasts.
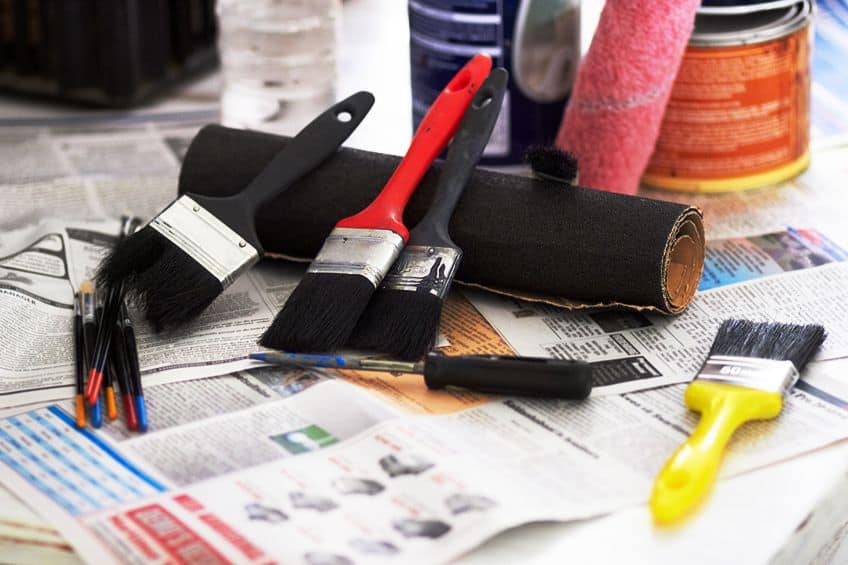
- Paintbrushes, rollers, and/or sponges in various shapes and sizes
- Newspaper or an old sheet
- Palette for mixing paint
- Paper and pencil
- Plastic Primer
- A plastic cleaner or soapy water
- Rubbing alcohol
- Soft cloth
- Sandpaper
- A sealant or varnish
Step 1: Preparing Your Paint
Instead of trying to create the color directly on your piece, it is better to mix your acrylic paints on a palette to produce your desired colors. If you are adding any acrylic mediums to your paints, now is also a good time to test how these mediums affect the final look of your paints. Do not forget to lay down an old sheet or some newspaper to protect your workspace from unwanted paint.
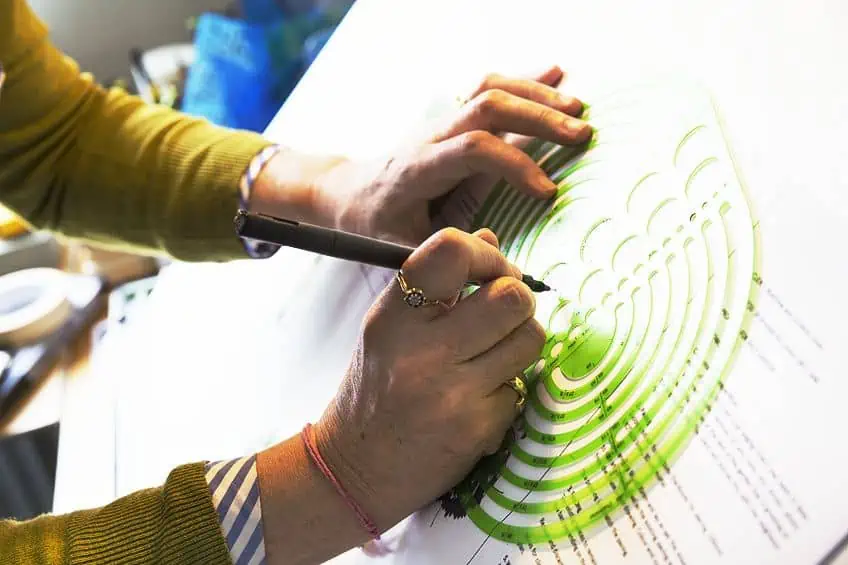
Step 2: Planning Your Design
Nothing is worse than painting your whole design only to end up with something that does not look how you expected. Start by planning out your project so that you can map out its dimensions and workshop the details before committing to a design. Use a pencil to plan your piece out on paper. You can even use this sketch as a stencil later. This step is especially important if you are painting curved plastic to ensure that your design does not end up warped or distorted.
Experiment with the different colors and brushes you would like to use in your design. If you have the time, wait until the paint dries completely to allow you to see the final color of your paint.
A good practice when painting plastic with acrylic paint is to patch-test your paint on a part of your item that is easy to hide, such as the underside, or you could even acquire an extra item to use specifically for experimenting. You could also swatch your paint on a piece of scrap plastic that is similar. Swatching your paints is not only good to test the colors themselves but also to test how well the paint adheres to the plastic and the effect of your sealer on the final texture and finish of your paint.
Step 3: Preparing Your Plastic
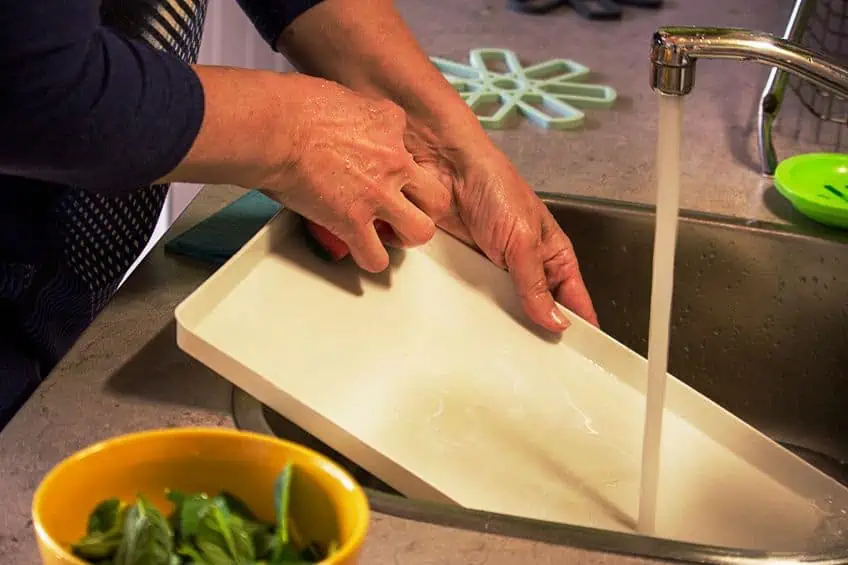
This step is vital for ensuring that your acrylic paint lasts on plastic. To start, sand the surface of your plastic with a fine 100 to 120-grit sandpaper, surface conditioner, or a liquid deglosser. This creates a rough surface that allows your base layer or primer to adhere better. After sanding the plastic, you will have to wash it to remove any dust, dirt, grease, or oils as this will make your paint less likely to stick. For lightly soiled items, simply wash them with soap and water. You may need to use a specially developed plastic cleaner for very dirty items to achieve a clean surface for your paint.
Dry the plastic and then wipe it down with some rubbing alcohol on a soft cloth to remove any remaining residue. Cleaning the plastic ensures your paint applies smoother and adheres better and therefore, lasts longer.
After cleaning your plastic, wearing latex gloves will ensure that no oils or fingerprints dirty its surface while you are handling it. Once your plastic has completely dried, you can prime its surface with either a specialized plastic primer or a base coat of enamel paint. This creates a layer that chemically welds and flexes with the plastic while also providing a better surface for your acrylic paint to adhere to. Follow the manufacturer’s instructions and wait for it to dry completely.
Step 4: Transferring Your Design
Once your plastic has been prepped and primed, tape up any sections of the plastic that you would like to protect from paint. This also creates a clean border just remember to remove this tape once the paint is dry to the touch but not before it fully sets. Now is a good time to add your stencil or trace your design onto the surface of your plastic. If the plastic is clear, simply tape your stencil to the underside of it and paint along the outside. In the case of opaque plastic, you can use transfer paper to transfer your design. If you do not have transfer paper, you can try shading the underside of the design with pencil and lay it face up on the plastic surface.
With a ballpoint pen, or another dull stylus that will not rip your paper, trace along the outline of your design, and it should transfer it onto the plastic’s surface.
Step 5: Painting Your Plastic
You can now begin acrylic painting on plastic. Start filling in your stencil or freehand, best to start in an upper corner and work diagonally down to avoid smudging your work. Natural and synthetic brushes provide different effects. Natural brushes produce a smoother finish while synthetic brushes leave more visible brush strokes in the paint. A sponge is also useful for painting large areas or backgrounds in one color. You can make use of toothpicks to pop air bubbles that appear before the paint dries. When using your acrylic paint for plastic, paint your design with one color at a time to minimize bleeding and clean your brush thoroughly in between them.
Paint in thin layers and wait for each layer to dry completely before painting the next.
Step 6: Sealing Your Designs
If you want to guarantee your design’s longevity, be sure to add a protective sealant or varnish to the finished item. This protects them from dirt, dust, water, and the elements. Opt for a sealant with UV resistance and waterproofing for outdoor uses and apply a couple of coats to maximize its longevity. A clear acrylic sealant or varnish is ideal and easy to use. Sealants offer a multitude of finishes such as satin, gloss, or matte, so it is important to test how they affect the final look of your project.
Allow your paint to dry for a full day before applying your sealant and then leave your piece undisturbed until it has fully cured.
If you are painting plastic plates, cups, or any other item that will come into contact with food, you must use a non-toxic sealant. Also avoid painting any parts of your item that will be in direct contact with food such as the rims of cups, as it is important to remember that just because acrylic paint and sealers are non-toxic does not mean they are food safe.
How To Remove Acrylic Paint From Plastic
Your paint will eventually come off if handled or touched often, however, you may want to remove your paint earlier either to fix a mistake or simply try out a new design. Because acrylic paint is water-based, the easiest time to remove it would be before it has dried. Simply use a damp rag, or cotton swab if cleaning a smaller area, and wipe away the paint. White vinegar can also be sprayed to soften the paint if it has already begun to dry.
After your acrylic paint has dried, you will need to use a sharp blade to remove it.
Angle the blade at 45 degrees and use long strokes to scrape off the paint. Work carefully to avoid injury or scratching your plastic. Removing paint off plastic becomes much more difficult after you have sealed or varnished it, as this protective layer will first need to be removed with a paint thinner or similar product. Check the manufacturer’s instructions of your sealant for details on how to remove it and then remove any remaining acrylic paint as usual.
While your paint will not last forever, with proper preparation and care it can last for a good couple of years. Acrylic paints make painting plastic an easy and cost-effective method to recycle old items or even create something new.
Frequently Asked Questions
Can You Paint Plastic With Acrylic Paint?
Yes, acrylic paint can be used to paint plastic. However, for the paint to adhere properly, you will need to prepare the surface of the plastic. You will also need to seal your design with a varnish or sealant to protect it from being rubbed or scratched off.
Will Acrylic Paint Stick to Plastic?
Yes, acrylic paint will adhere to most plastics with some preparation. When painting plastic with acrylic paint, clean the plastic’s surface using a plastic cleaner and then roughen the surface with sandpaper or a surface conditioner. Apply a plastic primer or a base coat of enamel paint before painting to give your paint additional longevity. Be sure to paint in thin layers, waiting until the paint is completely dry before painting the next layer. Lastly, if your painted object is handled often, add a layer of acrylic sealant to further protect it.
Do You Need To Prime Plastic Before Painting It?
Yes, plastic is non-porous so if you do not want your paint to come off, then you will need to prime it. For even more longevity, you should also roughen up the surface of the plastic with sandpaper to make not only the primer, but also the paint adhere better. If the item you are painting will not be handled or exposed to the elements, then your paint may last a few months without the use of a primer.

Megan is a writer and researcher who holds a degree in Social Sciences, with a specialization in Psychology and Environmental Science, from the University of Cape Town. Her dedication to acquiring knowledge and making a positive impact has driven her current work in promoting conscious and sustainable growth in Southern Africa. Megan’s interests encompass exploring the physical and psychological impacts of color in our environment on our mood and well-being. She is also passionate about the role of art and creativity, which has been an integral part of society since the beginning of human history. Since 2022, Megan has been contributing blog posts on painting and color theory at artfilemagazine.
Learn more about Megan van Schoor and about us.
Cite this Article
Megan, van Schoor, “Acrylic Paint on Plastic – Learn How to Apply Acrylic Paint to Plastic.” artfilemagazine – Your Online Art Source. June 27, 2023. URL: https://artfilemagazine.com/acrylic-paint-on-plastic/
van Schoor, M. (2023, 27 June). Acrylic Paint on Plastic – Learn How to Apply Acrylic Paint to Plastic. artfilemagazine – Your Online Art Source. https://artfilemagazine.com/acrylic-paint-on-plastic/
van Schoor, Megan. “Acrylic Paint on Plastic – Learn How to Apply Acrylic Paint to Plastic.” artfilemagazine – Your Online Art Source, June 27, 2023. https://artfilemagazine.com/acrylic-paint-on-plastic/.
Hello I want to use acrylic paint on 3 inch Christmas bendable figures (ie, skinny santa, skinny nutcracker soldiers, etc) How do i prepare these for painting? Do I still need to sandpaper them? Thank you
To ensure the best results, preparing the surface of these figures before painting is crucial. Here’s a step-by-step guide to help you get started:
Clean the Figures: Before anything else, clean your figures to remove any dust, oils, or residues. A gentle wipe with a damp cloth or a mild soap solution should suffice. Make sure they are completely dry before proceeding.
Sand the Surface (If Necessary): Whether you need to sandpaper them depends on the material of your figures. If they’re made from a smooth plastic, a light sanding can help create a texture for the paint to adhere better. Use a fine-grit sandpaper and gently sand the surface. Be careful not to apply too much pressure, as you don’t want to damage the figures. If your figures have a more porous surface or if sanding could damage them, you might skip this step.
Apply a Primer: Applying a primer is key, especially for non-porous surfaces. It helps the paint to stick better and provides a uniform base. There are primers specifically designed for plastic surfaces that you can use. Make sure to apply a thin, even coat and let it dry completely according to the primer’s instructions.
Choose the Right Paint: Ensure you’re using acrylic paint suitable for the material of your figures. Some paints are formulated specifically for plastic and might give you better results.
Test Your Paint: Before starting on your figures, it’s a good idea to test the paint on a small, inconspicuous area or a similar material to ensure it adheres well and the color looks as expected.
Paint Your Figures: Once your primer is dry, you can start painting your figures. Use thin layers to avoid drips and allow each layer to dry completely before adding the next. This patience will pay off in a smoother finish.
Seal Your Figures (Optional): After the paint has dried, you might want to apply a clear sealer to protect your paint job, especially if the figures will be handled frequently. This step is optional but recommended.