How to Clean an Oil Painting – Methods to Clean an Oil Painting
Have you ever seen an oil painting before and after it has been cleaned? The picture that once had been yellowed and dulled with time and dust emerges with vibrant colors and detail that the owner probably forgot was even hiding there. It is a great skill to have to be able to clean and handle an oil painting without damaging its surface. Below, we will discuss some of the methods on how to clean an oil painting.
Contents
- 1 Why Would You Want to Clean an Oil Painting?
- 2 How Often Should You Clean Your Oil Paintings?
- 3 The Challenges You Might Face When Cleaning Oil Paintings
- 4 When Is It Wiser to Hire a Professional Service to Clean Your Painting?
- 5 What Not to Use for Cleaning Oil Paintings
- 6 Methods on How to Clean an Oil Painting
- 7 How to Varnish an Oil Painting
- 8 How to Protect Your Oil Painting from Future Damage
- 9 Frequently Asked Questions
Why Would You Want to Clean an Oil Painting?
Any object, when displayed for a long period of time, will gather dust. The same goes for an artwork if it has been sitting for a while uncovered. A painting can also collect grime if it has not been stored properly or has been on display, as it is then exposed to elements, smoke, or even flies that often leave spots.
How Often Should You Clean Your Oil Paintings?
The rule of thumb when determining when it is the right time to clean your oil painting is by inspecting it. If there is visible dust build up, then it is time for you to dust it. However, deep cleaning a painting too often can reduce its longevity. Only when the work is very dirty, has developed fungal growth, or has severely yellowed and darkened should you clean it or have it cleaned.
The Challenges You Might Face When Cleaning Oil Paintings
It is becoming more common for oil paintings to be done on paper rather than canvas. If your oil artwork is on paper, it is important that you make sure that no other mediums have been used apart from oil paint when attempting to clean it. For example, if you use a cloth wet with water to clean a work that has watercolor paint, this could damage the painting. And using water on paper is dodgy enough as it is. In most cases, oil paintings on paper are framed with glass or Perspex and are therefore protected from dust and dirt. Another potential but small challenge when cleaning oil paintings on canvas or on another material is ensuring to use soft materials when cleaning. This is discussed further below.
Many artists use varnish to seal the paint and to protect it. This varnish coating also helps to make the colors more vibrant. However, varnish yellows over time and becomes darker.
Cleaning the varnish may help to make the painting brighter again, but some solvents and oil painting cleaners could not only remove the layer of varnish but damage the paint underneath. Professional conservators and restorers study art history and understand materials and chemistry, which gives them insight as to which solvent is safe to use on a specific type of paint. Therefore, attempting to clean varnish may damage the artwork. It is possible to test various solvents that dissolve varnish and test them to find out if they damage or pick up color from the painting, but it is tricky and it would be very sad to damage an artwork by trying to remove the varnish yourself. However, if you still wish to remove the darkened, yellow hue from the painting yourself, we have provided a tutorial below using professional products.
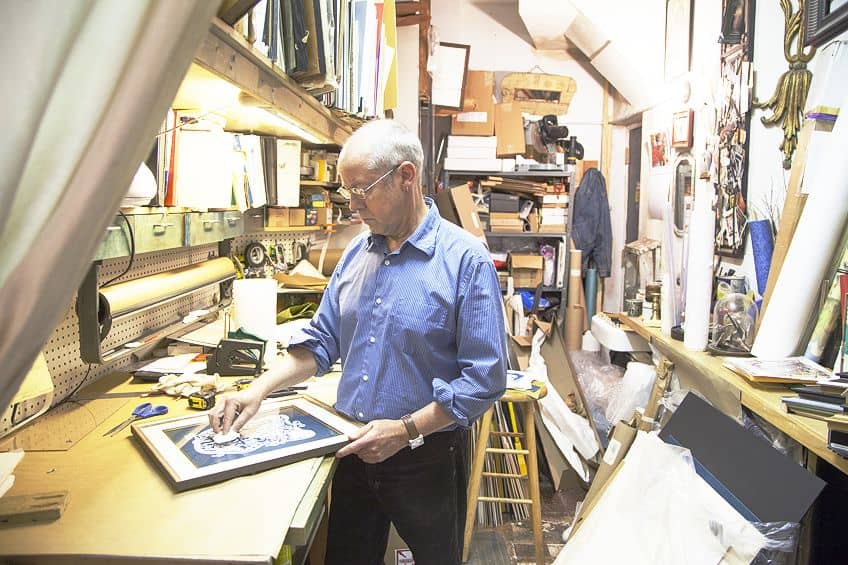
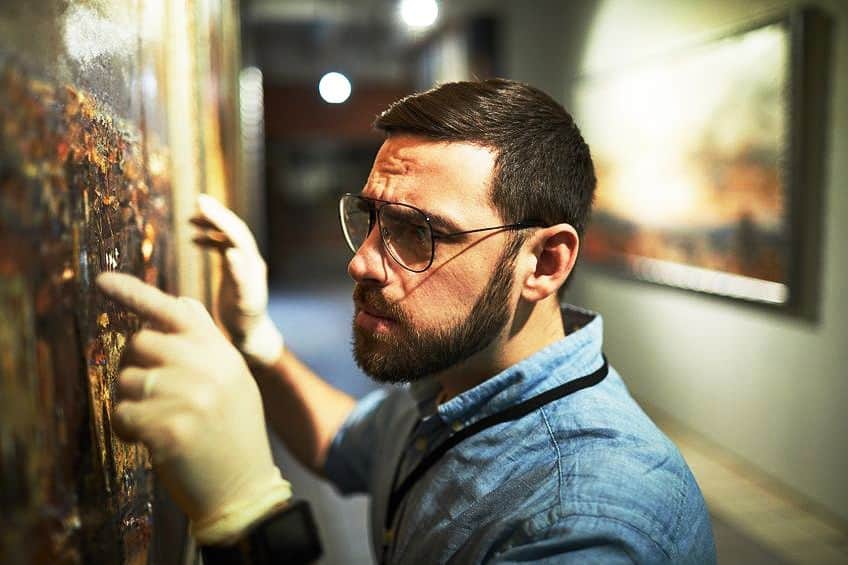
When Is It Wiser to Hire a Professional Service to Clean Your Painting?
The surface of any painting is fragile and can be damaged if cleaned with home cleaning products and methods. If your painting is old and valuable, whether sentimental or monetary, it is advisable to seek out a restorer or conservationist to clean it or to ask for professional guidance on how to clean old oil paintings.
If you are not sure where to find one, you can try asking an art museum or art gallery who they recommend.
What Not to Use for Cleaning Oil Paintings
There are a few myths out there as to what you can use to clean a painting, some of them are weird and some of them are an easy way to ask for trouble. So, we have listed a few said oil painting cleaners below that you should not use for cleaning oil paint.
Baby Oil
It is thought that baby oil can lift dirt from the surface of an oil painting. Although baby oil cannot actually damage the paint, it can leave a sticky shiny finish when it dries. This sticky residue will attract more dirt, and because the surface is never dry, it can make it more difficult to clean. Also, baby oil can act as a glaze rather than a cleaner, enhancing the colors of the painting in such a way that it changes its original appearance.
Alcohol
Using alcohol to clean a painting can damage it and rubbing alcohol on a painting can remove the paint from its surface by thinning the oil. Some artists, therefore, use alcohol or turpentine in their paint if they want a sheer finish, but it is dangerous for cleaning.
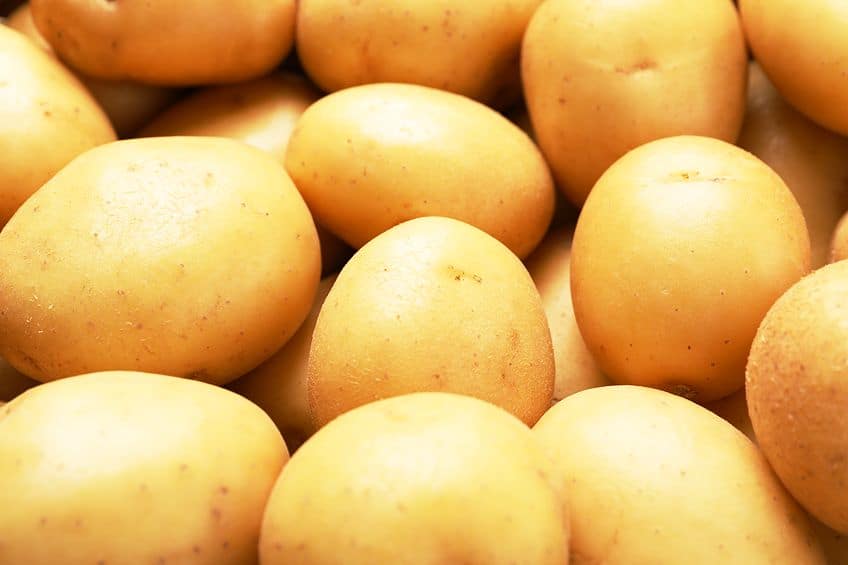
Starchy Foods
There is a myth that you can clean an oil painting using starchy foods. For example, some people use potatoes or bread. This not only does little in the way of cleaning the painting, but it can damage it or leave crumbs that attract bugs and insects.
Scratchy Materials
Feather dusters, although feel very soft, contain the occasional barb that could scratch the painting. Any course brush or material could also cause scratching. In addition, using a cloth to dust a painting is not a good idea either, as the fibers could catch on a textured spot and pull the paint off the canvas. Therefore, it is best to use a soft paintbrush when dusting oil artworks.
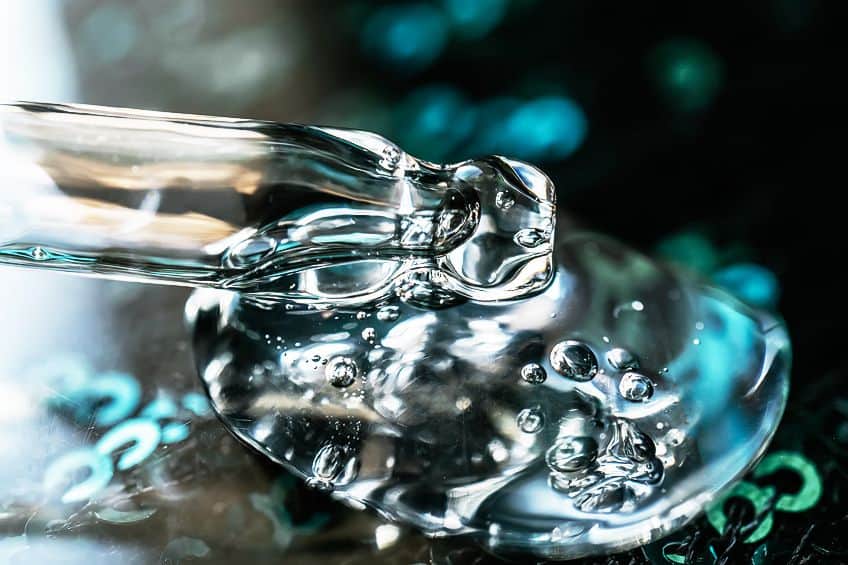
Water
Although the pH of water is not dangerous for cleaning an oil painting, water and water-based products are not recommended because they can seep through the tiny cracks of the paint and penetrate the canvas beneath. The reason why this is not good is because moisture gets trapped and causes mold to form on the canvas. Not only that, but in time, water can cause the paint to lift and peel off.
Methods on How to Clean an Oil Painting
If your painting is dirty, you could leave it the way it is or clean it yourself. We have listed a few tutorials below on how to clean an oil painting yourself, but if the work is damaged as well as dirty it is best to have it restored by a professional who best knows how to clean old oil paintings.
Method 1: Dusting Your Oil Painting
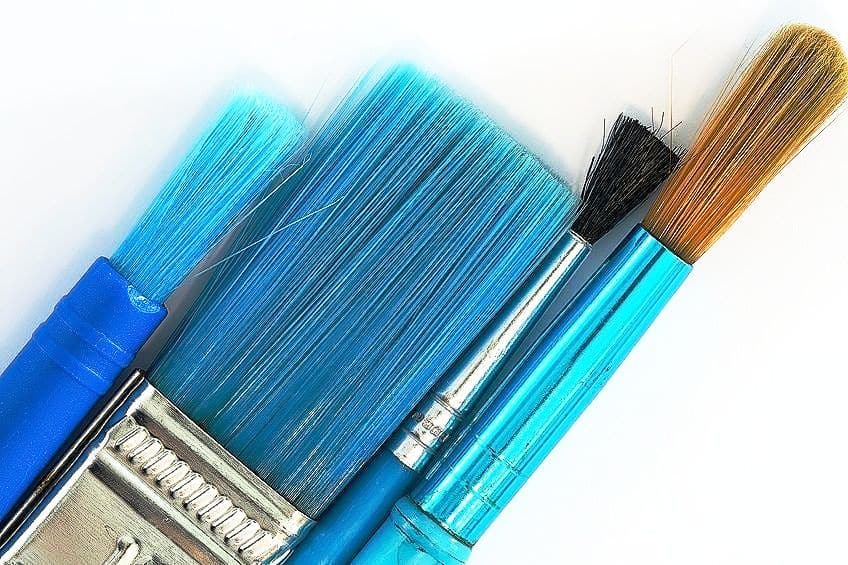
An easy and simple way of removing dust, pet hair, and other airborne particles from your oil artworks is by using a soft brush. This method is best if the paint is not brittle or coming loose – brushing this type of surface could lift the paint from the canvas and cause further damage. All you will need is:
- A soft paint brush
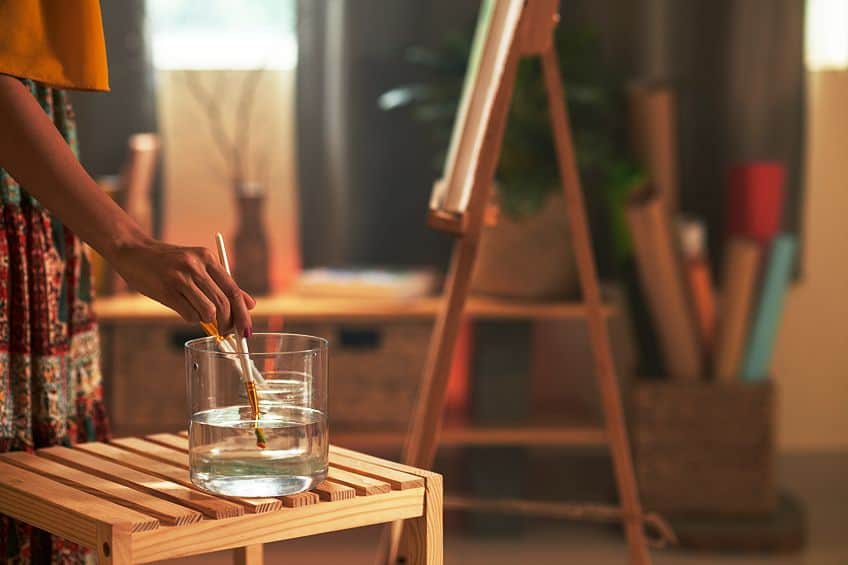
Step 1: If the painting is secure on the wall, you can dust it while it is hanging, or you can place it on a level surface such as a table. Placing it on a flat surface will allow you to view it from various angles and in different lighting for better cleaning. Ensure that the brush is a suitable size for the painting you are cleaning. If you use a small brush for a large painting, you could sit there for a long time.
Ensure that the brush is clean and dry and free of moisture.
Step 2: Choose one of the corners at the top of the painting and gently dust from the top down in small sections at a time so that the dust falls and is not simply spread across the picture. Take your time, working slowly and gently until you reach the bottom.
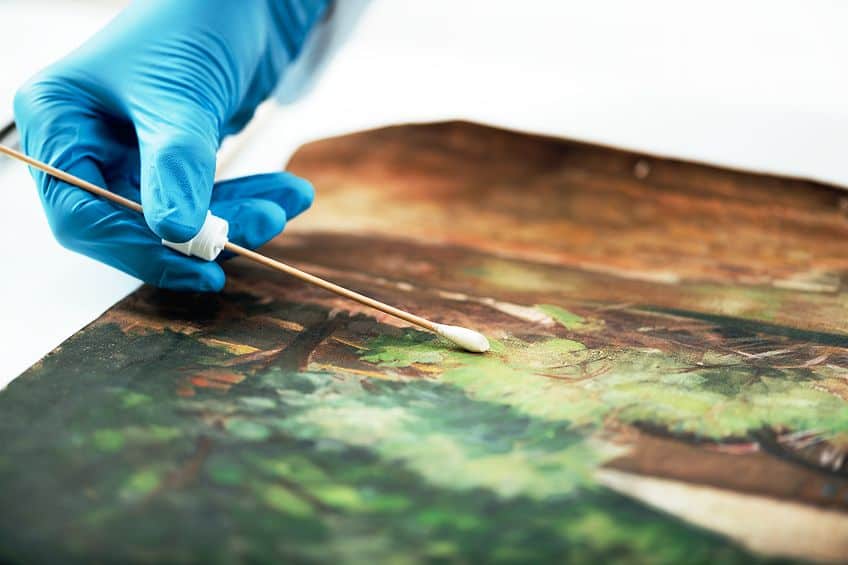
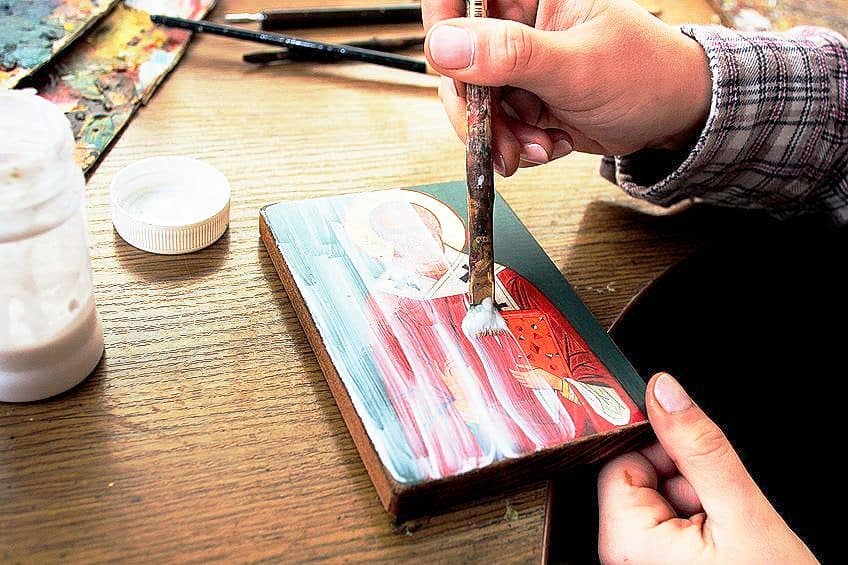
Method 2: Cleaning Spots With Saliva
It may seem a little bit weird to use saliva to clean a painting, but many curators and professionals use this method as a very simple way of removing a small spot of dirt from an artwork, such as pesky fly spots, depending on the painting medium of course. You will need:
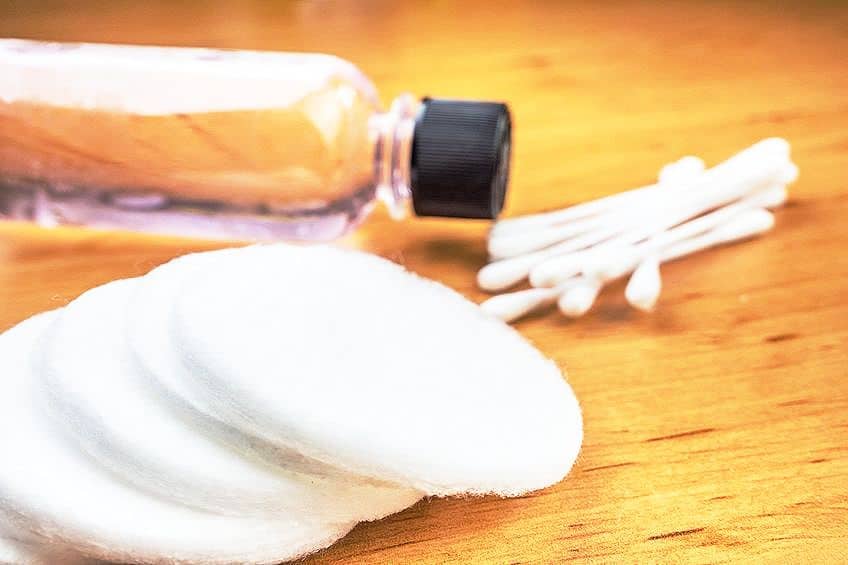
- Cotton swabs
- Saliva
- Gloves or clean hands
Step 1: Cover the cotton swab in saliva by either dipping it into a dish or rolling it on your tongue. Make sure that it is not completely saturated, just damp.
Step 2: First test how the paint reacts to the saliva by lightly cleaning a spot on the corner of the painting. Use a gentle rolling motion, do not rub. If pigment lifts onto the swab, then do not proceed.
Step 3: If the paint is not disturbed, proceed to locate small spots of dirt on the painting and gently clean them. When the swab gets dirty, switch to a new clean one. This method is not suitable for cleaning the entire painting as you would probably sit there for hours.
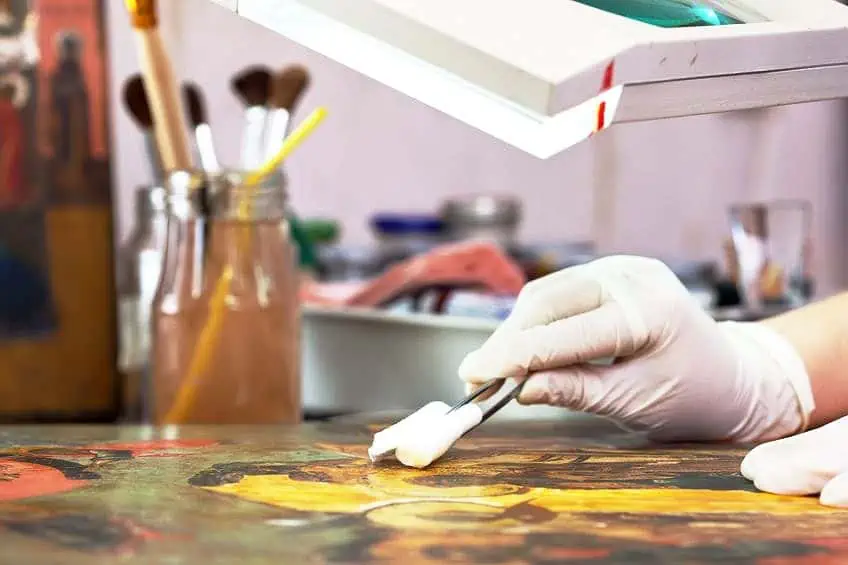
Method 3: Cleaning Dirt and Yellowed Varnish
We provide this method of cleaning oil paintings on canvas under advisement and caution. As said earlier, cleaning the protective layer of varnish on an oil painting poses the risk of damaging the work and it is best to ask a professional. However, if you still wish to do this sort of cleaning yourself, Gainsborough produces professional cleaning products. Here, we have provided a tutorial on how to use a few of them. First, practice on an old painting that is not valuable to you before working on a valuable one. Take a photograph before and after of the front and back sides of the painting. If there is writing on the work, make sure to take a photograph of that too. You will need:
- Surgical Gloves
- Surgical cotton
- A small plastic or metal container
- Cotton swabs with wooden handles that are about 15,24cm or six inches.
- Emulsion Cleaner
- Varnish Remover
- Neutralizer
- Varnish
Step 1: Lay the oil artwork on a flat surface lying on top of a layer of craft paper. Ensure that the room is well ventilated and wear surgical gloves when working with the products. To prevent putting too much pressure on the canvas, which could cause it to stretch, place a piece of sink linoleum underneath the area of the painting that you will be cleaning.
Step 2: To clean the dirt from the surface of the painting, very gently wipe some Gainsborough Neutralizer using cotton wool over the surface of the painting.
Step 3: Test the Gainsborough Varnish Remover and Emulsion Cleaner on a corner of the painting using a cotton swab to decide which of the two products would be best to use to clean the painting. The Varnish Remover should remove the yellowed varnish, while the Emulsion Cleaner will remove smoke and dirt build-up. After each test, apply Gainsborough Neutralizer straight away to the test area with a piece of cotton, wiping gently. This will neutralize the cleaning.
You can begin cleaning the painting after deciding which product to use.
Step 4: Dip a cotton swab in the selected cleaning product and apply it to the painting using a gentle rolling motion. Do not rub or scrub the painting with the swab. Keep an eye on the swap to make sure that it is not picking up any paint, you only want to see dirt or varnish on the swab. Once it has been used, do not dip the same swab into the cleaning product again. Rather use a fresh one. Dispose of the used cotton pieces and swabs in a covered container. It is recommended to clean an area of 5,08 cm or two inches at a time and then neutralize it using the Gainsborough Neutralizer before moving on to the next area. It is best to clean the trees at one time, for example, and then the sky and so on because it will be easier to see if any color is being removed and the response of different pigments varies to cleaning.
Before cleaning the whole painting, take a photograph when you have reached halfway.
Step 5: The last step is to varnish the painting using the Gainsborough Varnish which will protect the painting and enliven the colors.
How to Varnish an Oil Painting
Since varnish is part of the preservation process after cleaning, it is helpful to know how to do it. If applying varnish onto a freshly painted artwork, it is important to note that it takes a very long time to dry and therefore, it is best to wait for six months for an average oil painting to dry before applying varnish, and one year for a heavily painted oil painting. You should also make sure that the painting is dry after cleaning before applying the varnish. You can either use a gloss varnish or a matte varnish, depending on your preference and the style of the artwork.
The two ways to varnish a painting are either to brush on the varnish or to spray it.
How to Use Spray Varnish on an Oil Painting
If you use a spray varnish, the painting can stand vertically as it won’t drip like liquid varnish. Make sure that the painting is warm and dry, free of moisture. The varnish should be at room temperature. Ensure that there is no dust on the painting by dusting it with a soft brush.
Step 1: Shake the spray varnish for about two minutes until it is thoroughly mixed. While standing 30 to 40 cm away from the work, spray a light, even coat over the painting. Every now and then, check that the nozzle does not have blockages.
Step 2: Shake the varnish a few times during the process and apply thin layers – about two or three should be sufficient. Wait about 10 minutes for each layer to dry before starting on the next coat.
How to Use Liquid Varnish on an Oil Painting
If you are using a liquid varnish, set the painting on a flat surface. This will prevent the varnish from dripping down the painting. Stir the varnish well before pouring it into a container.
Step 1: Dip the brush into the varnish and wipe on the edge of the container or tin before applying so as to prevent excess and dripping.
Step 2: Apply thin, even layers of varnish – about two or three layers. You should wait for the varnish to dry in between each layer. The brushstrokes should be long and even, moving from top to bottom, and removing any bubbles that pop up.
Step 3: If you have missed a few spots, wait for the varnish to dry before applying another coat. Do not paint over the areas you have already covered.
Step 4: Once you have finished varnishing your oil painting, cover it (while not touching it) so as to prevent dust and particles from sticking to it.
How to Protect Your Oil Painting from Future Damage
Paintings are delicate and need to be handled and stored with care to prevent damage. Below are a few ways to protect your oil painting whether it is hanging on the wall or stored away.
- It is best to keep a painting out of direct sunlight. Sunlight can bleach basically anything, and it will certainly affect the color of a painting. Not only that, but the sun’s heat can cause cracks and damage to the paint. You can protect your painting by either having it framed with UV glass, which is very costly. Or if you want to place it in a well-lit area, hang it where it will not catch direct rays.
- Store your oil artwork in a dry, dark room when not on display. Moisture can damage the painting by causing mold and lifting the paint. The room should not be too hot or too cold, moderate temperature is best.
- Wrap the painting in materials that are breathable, such as foam, sheets, or acid-free tissue paper. Bubble wrap is fine for transporting a painting, but not for storing as it does not allow the work to breathe.
- For works on paper that are unframed, cover with acid-free paper and place between acid-free cardboard to prevent the paper from bending over time.
Owning a beautiful oil painting comes with some maintenance if you wish to conserve and extend the life of the artwork. Although it is not necessary to clean an oil painting too often, when you do decide to clean your artwork, it is important to handle it with care and to clean it correctly. We hope that the tips and methods above have helped to answer some of the questions that you may have regarding caring for and cleaning your special piece. If you would like more information on how to clean your old oil painting, we recommend contacting your local conservator or restorer for further guidance.
Frequently Asked Questions
Is It Expensive to Have Your Painting Cleaned Professionally?
There is not a straightforward answer, as the cost is relative from person to person. If the painting is large, the cost to clean it will go up because the surface area expands. Restorers and conservators usually charge a minimum fee, and the price would increase per square inch of canvas. The cost also varies depending on the damage, which would determine the amount of effort, time, and resources needed to clean it.
Do You Need to Clean an Oil Painting?
An oil painting will gather dust and grime if it has not been stored properly or has been on display for a long time. You could leave it the way it is or clean it yourself, but if the work is damaged and dirty, it is best to have it cleaned and restored by a professional. It is not necessary to clean an oil painting too often as it can reduce the lifespan of the artwork, but if it is severely dusty or dirty, then it would be a good time to clean it.
Can the Back of Your Painting Be Cleaned?
Cleaning the back of an oil painting helps to prevent the build-up of dust and dirt at the back of the artwork. You can wipe the back of the canvas with a dry, clean cloth to get rid of any dust.

Jaycene-Fay Ravenscroft is a writer, poet, and creative based in South Africa, boasting over 6 years of experience working in a contemporary art gallery. She earned her Bachelor of Arts degree with majors in Art History and Ancient History from the University of South Africa, supplementing her studies with courses in Archaeology and Anthropology. Driven by a passion for learning, Jaycene-Fay finds inspiration in symbology and the interconnectedness of the world. Trained to analyze and critique art, she is enthusiastic about delving into the meanings behind each artwork, exploring its ties to the artist’s cultural, historical, and social context. Writing serves as Jaycene-Fay’s means of researching, sharing knowledge, and creatively expressing herself. For artfilemagazine, Jaycene-Fay writes articles on art history with a focus on historical paintings.
Learn more about Jaycene-Fay Ravenscroft and about us.
Cite this Article
Jaycene Fay, Ravenscroft, “How to Clean an Oil Painting – Methods to Clean an Oil Painting.” artfilemagazine – Your Online Art Source. June 26, 2023. URL: https://artfilemagazine.com/how-to-clean-an-oil-painting/
Ravenscroft, J. (2023, 26 June). How to Clean an Oil Painting – Methods to Clean an Oil Painting. artfilemagazine – Your Online Art Source. https://artfilemagazine.com/how-to-clean-an-oil-painting/
Ravenscroft, Jaycene Fay. “How to Clean an Oil Painting – Methods to Clean an Oil Painting.” artfilemagazine – Your Online Art Source, June 26, 2023. https://artfilemagazine.com/how-to-clean-an-oil-painting/.