How to Paint Leather – A Guide to Using Acrylic Paint on Leather
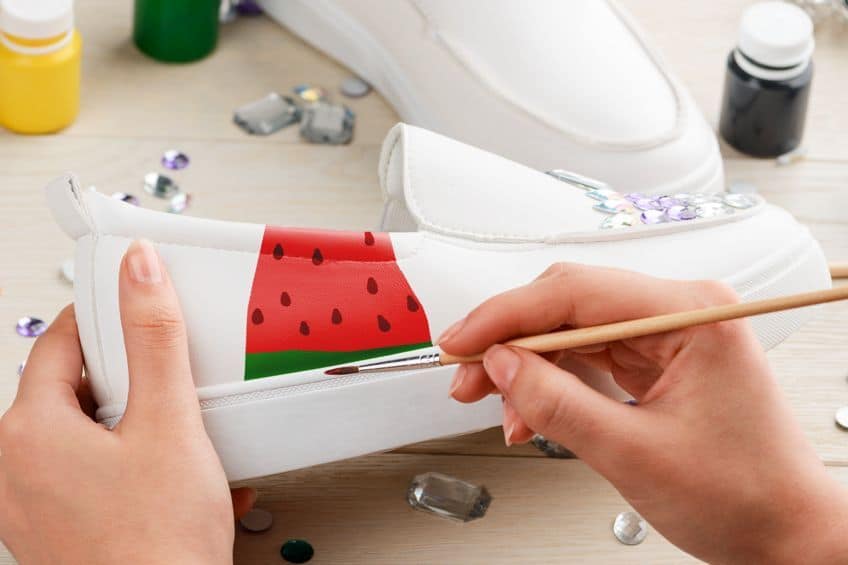
Painting leather is an easy and cost-effective way to bring new life to an old pair of shoes or to upcycle your leather bag into a statement piece for your wardrobe. If you are unsure on how to get started or are looking for something to inspire your next leather painting idea, we have created this handy guide to give you the confidence to create your next piece!
Why Paint on Leather?
Painting leather is a cost-effective way to breathe new life into clothing or shoes. You can add your own personal flair to your wardrobe with leather shoes paint or revamp an old jacket. Painting leather couches can cover old scuffs or stains or even just update it to match your home and style. Inside furniture is not the only item that can benefit from painting leather, your patio furniture and even car seats are perfect canvases for unique and personalized pieces.
Dyeing vs. Painting Leather
Dyeing and painting are both methods used to color leather. Dyed and painted leather can look similar to each other; however, they are very different processes. The key difference between these two methods is how the color bonds to the leather. Where color in dyed leather is chemically bonded to the leather, paint only adheres to its surface and does not change the original color of the leather underneath.
This makes the color of dyed leather last much longer and is why it is the most common way of coloring leather for retail or commercial use.
What Paint to Use for Painting Leather
Now that you know that dyeing leather is different from painting it, you might be wondering which paint is best to use. The type of paint you use can have an effect on the finish and longevity of your piece, as well as make it easier to apply.
Acrylic Leather Paint
Acrylic Leather paint is specially made for painting on leather surfaces and so it is the best option if you want your leather designs to last. It adheres to the leather better than other paints and remains flexible after it dries so that any movement of the leather will not crack or peel the paint. This is especially handy when panting clothing items such as shoes or jackets that flex when you wear them. Acrylic leather paint has a matte finish once it dries. Acrylic leather paint is different from regular acrylic paint as it is more fluid and thinner. Leather paint is durable, affordable, and does not damage real or faux leather.
This makes this paint an ideal leather shoes paint, if you plan on painting many different leather projects, or projects that will see a lot of use such as couches.
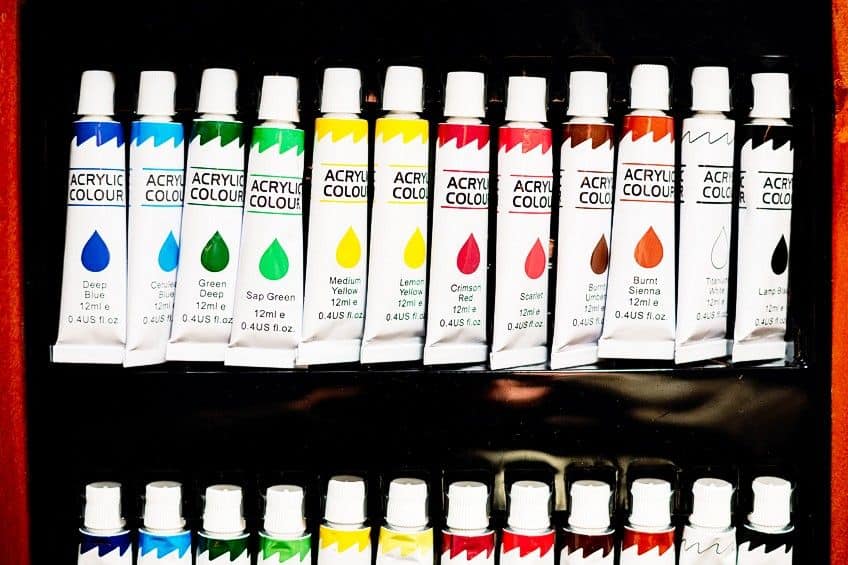
Regular Acrylic Paint
Any acrylic paint that is not specifically made for painting leather is another fantastic low-cost option for painting leather. Acrylic paint on leather dries flexibly so, if the surface is prepared and painted properly, it will not crack or peel when the leather is flexed. Like acrylic leather paint, normal acrylic paint dries to a matte finish, however, there are many more colors available.
One of the best paints to use when learning how to paint leather as it is widely available, cost-effective, and quite forgiving. You will need to water down acrylic paint to match the viscosity, or thickness, of the leather paint to make it apply and adhere better. Acrylic paint can be used on faux or real leather, however, if the leather is untreated you will need to paint a base layer of acrylic paint mixed in equal parts with fabric medium.
Oil Paint
Oil paint is another medium that can be used when painting leather, however, it is not recommended. Although oil paints can give leather a variety of finishes including matte and gloss, it takes more time to dry and requires more coats. This can easily damage the leather underneath and means that it cannot be used on faux leather at all. Oil paints will easily crack or peel when used on leather that flexes, such as with shoes or couches, so it should only be used if you are creating static pieces such as leather wall art. Oil paints produce strong odors so you will need to use them in a well-ventilated room.
Irrespective of which paint you use; higher quality paints are preferred as they tend to be more consistent and longer lasting. It is also recommended that you stick with the same brand of paint as paints from different manufacturers may adhere differently or have different colors.
Important Things to Consider When Painting on Leather
If you are painting on faux leather, you will need to be extra cautious as it can be more easily ruined. This type of leather usually comes with a silicone or wax protective coating that will need to be removed carefully with a degreaser before you can paint it. If your leather has become very hard and dry after deglazing it, you may need to soften it with a leather conditioner before painting it otherwise the paint will not adhere to the surface properly.
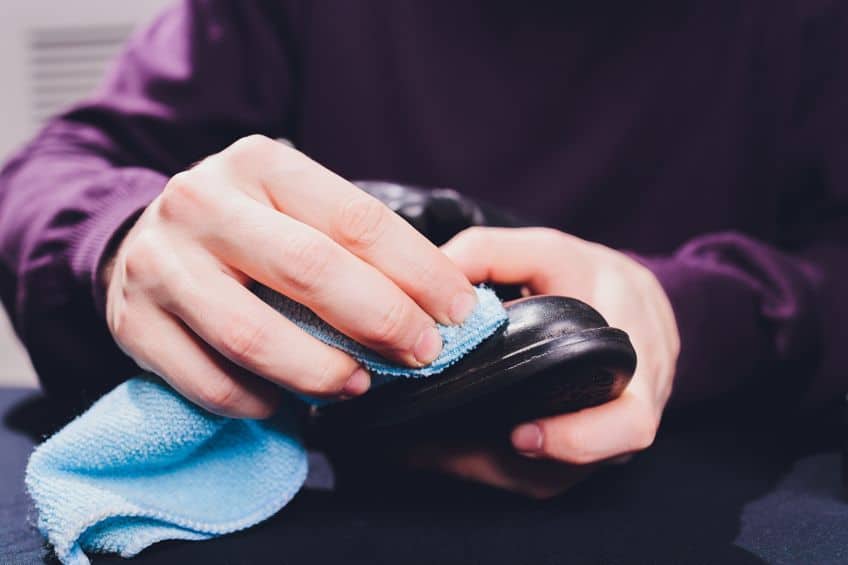
Additionally, you can use shoe polish or cream on your finished project to protect it and ensure that it remains durable. Do not forget to reapply it as needed afterward. If you want your design to last it is recommended that you use a finisher or sealant. Acrylic paint is water-based and will wash off when exposed to a lot of moisture if it is not sealed. Finisher also prevents your paint from scratches and scuffs and comes in a variety of finishes including matte, satin, and gloss.
A further layer of waterproof sealant should be applied for outside projects or shoes to provide additional protection against rain and snow.
Step-by-Step Guide for Painting Leather
To get started painting leather you will need to prepare for success. The right tools and paint can greatly impact not only the look of your final piece but also make it much easier to apply your paint and make it last. You will need the following materials:
- A leather deglazer
- Cotton pads to apply your deglazer and finisher
- An old sheet or newspaper
- A pencil
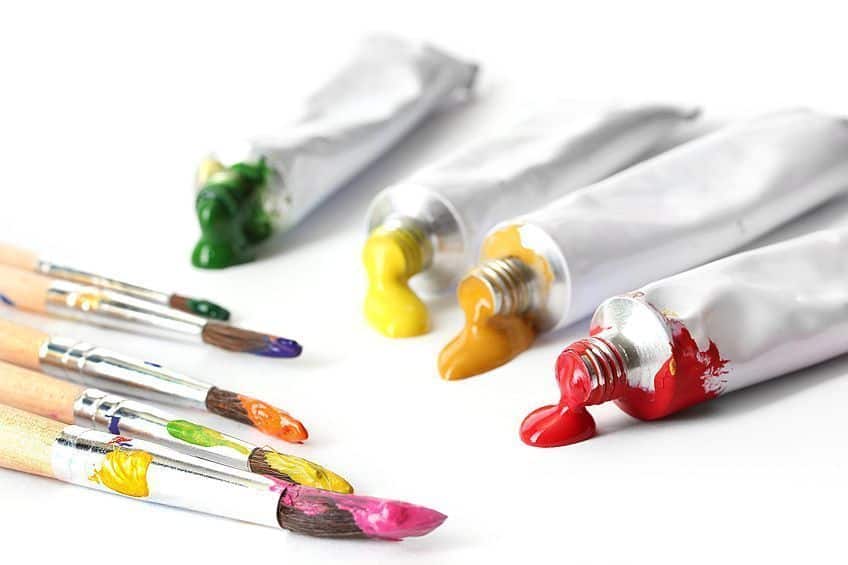
- Paint of choice in the colors you choose
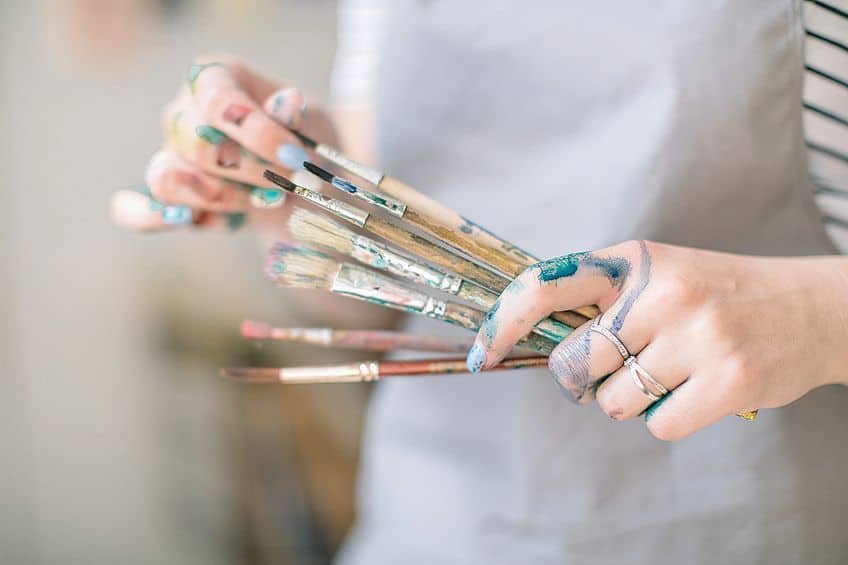
- A variety of brushes or sponges to paint your leather
- A finisher or sealant
- Leather conditioner or shoe polish (optional)
- A palette for mixing colors
Step 1: Prepare Your Paint
Before you begin painting you should mix your paints on the palette to get your preferred colors. If you are using acrylic paint on leather, then you can prepare a base coat of equal parts paint and water to help the paint adhere better. If you are using oil paints, ensure that you are in a well-ventilated area because of the fumes. Now is also a good time to lay down some old newspaper or a sheet to protect the surface and floor from any stray paint.
Drop cloths are great for larger projects.
Step 2: Plan Your Design
Once your paint has been selected and prepared it is time to plan your design. You can map out your design on a sheet of paper first and then use a pencil to sketch it directly onto the leather’s surface. You can also trace your design onto the leather using carbon paper or easily turn it into a stencil by cutting out its shape into a piece of paper. At this time, masking tape can be used to seal off parts of your leather that you do not want painted, such as the soles of shoes, metal details, buckles, or straps.
Now is a good time to test a small section of leather that cannot be seen to see the final effect of your paint, color, and finish. Try experimenting with different brushes and sponges, and if you have time, wait for the paint to dry to see if the color changes. It would also be good to test your sealant to see if it impacts the final look or texture of your painted leather. Painting your leather in the direction that it flexes ensures that the paint lasts longer, so move it around in your hands and take note of these areas.
Step 3: Prepare Your Leather
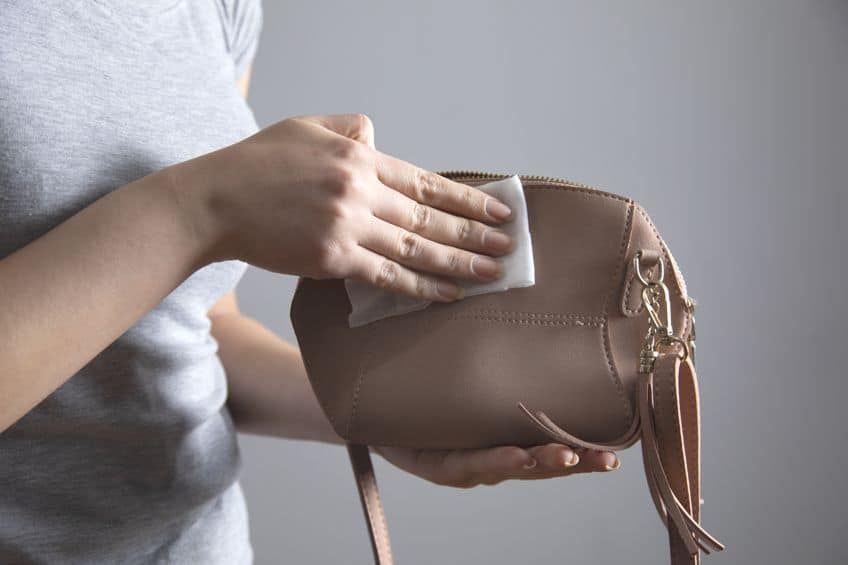
This is the most important step when painting leather. First, remove or securely cover any fittings or details that you do not want to get paint on including furniture legs, shoelaces, or anything else not attached permanently. Before you begin painting on leather it is a good idea to clean the surface of any dirt or dust. Simple dish soap and water can be used to clean it with a rough rag, scrubber, or an old toothbrush.
Do not soak the leather as it takes a long time to fully dry and cannot paint until it is. Allow to dry.
The majority of the leather in your home and clothes has a finish on it to protect it and it will need to be removed before you can begin painting it. This process is called deglazing and will help the paint adhere better to the surface. If you drop a few drops of water onto your leather and it is quickly absorbed then your leather is aniline or unprotected but if the water pools, then there is a protective coating that will need to be removed. The most reliable way to remove the finish is to use a leather deglazer or cleaner. Work gently so you do not damage the leather underneath. You may need to go over the area you intend to paint several times until any water dropped onto it is quickly absorbed, as any coat left behind will cause your paint to crack and peel.
There are some DIY methods to remove the protective layer using acetone, nail polish remover, fine grit sandpaper (100-200 grit), or even lemon juice, however, caution must be used as it can damage the leather. Deglazing can leave your leather looking duller and may even lift some of the color, therefore it is important to test it on an unseen part first and follow the manufacturer’s instructions.
Step 4: Painting Your Leather
Ensure your leather is completely dry before you begin painting. Your first layer is the most important as that is what will prevent it from peeling or cracking. If you are using acrylic paint, now is the time to paint a thin coat of your diluted base layer. Allow the base layer to be absorbed into the leather before painting your next layer. It is important to allow your paint to dry completely in between coats else it will peel and crack easily. Drying time for acrylics can vary based on the temperature and humidity, however, roughly two hours should be sufficient.
Apply paint in thin even layers until you achieve the coverage you are looking for, however, no more than three layers of paint are recommended. Bend your leather in the way that it naturally flexes in between paint layers so that the paint remains flexible after it dries. Once you have completed your design, let it dry completely in a dry place out of direct sunlight for no less than 24 hours before finishing it.
Step 5: Make It Last
The last thing left to do is to seal and waterproof your creation to prevent the paint from cracking, peeling, fading, or yellowing. Sealing your leather also protects it from the elements and allows you to wash it afterwards without the risk of damaging your paint. Once your paint is fully dry, apply your desired finisher with a brush or cotton in a thin even layer. You can apply up to three layers, letting them settle for five minutes between layers, then let your project dry undisturbed for no less than 24 hours.
Knowing how to seal acrylic paint on leather will ensure that you can clean the painted leather afterward without any fear of damaging your designs.
While any acrylic paint finisher will do, a leather finisher will produce the best results as not only seals the polishes it as well. If you are not planning on wearing the item or it is not being kept outside then this finisher is enough. If not, then you will need to waterproof the item as well. After your design has dried, go over the leather with leather polish or crème. You now know how to paint your very own custom leather pieces and make them last, all that is left is to follow your imagination and put your new skills to the test.
How to Remove Paint from Leather
If you make a mistake or want to try something different there are many different methods to remove paint from leather. If the paint is still wet, then simply brush it using a rough towel or toothbrush with some warm water and soap. You can then dry off any excess water and paint and wait until it has completely dried to start painting again. Oil can also be used to remove paint.
Apply an oil such as olive oil, cooking oil, or baby oil onto the paint to soften it, and then use a knife or painting knife to slowly remove the paint. Once the paint has been removed be sure to use a degreaser on the leather and then paint as normal. Acetone, nail polish remover, and rubbing alcohol can be used as well to remove paint. These methods dissolve the paint; however, they can easily damage the leather underneath so work carefully. Lastly, you can mechanically remove paint from leather by carefully using a knife or scraper. This method is not recommended as it is also very easy to damage the leather underneath by accidentally cutting into it.
Creative Leather Painting Ideas
Now that you know the basics of leather painting, you can try your hand at some of these leather painting ideas. All of these are beginner friendly and can easily be changed to match you and your unique style.
Read further to see how to paint leather shoes, bags, and key tags.
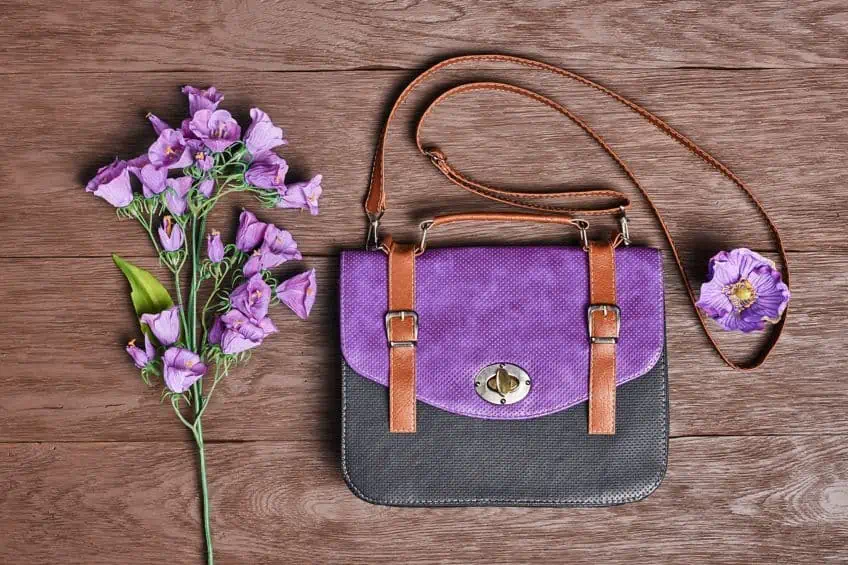
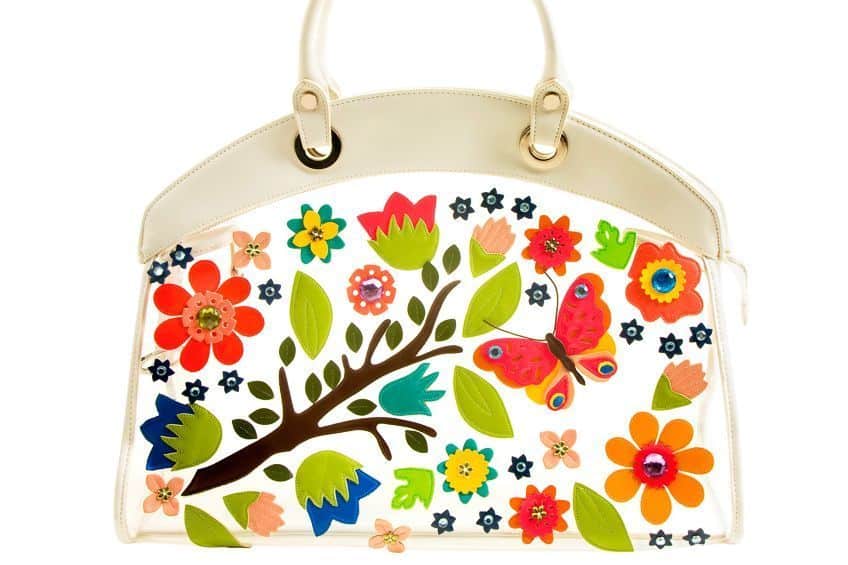
Leather Bags
Any leather bag, wallet, or purse can be painted to easily personalize your items on a budget. These can also make a great unique gift for family and friends or be used to refurbish an old purse that has been scuffed and scratched. Ensure that you thoroughly clean your bag before you begin painting and seal it with both a finisher and a waterproof.
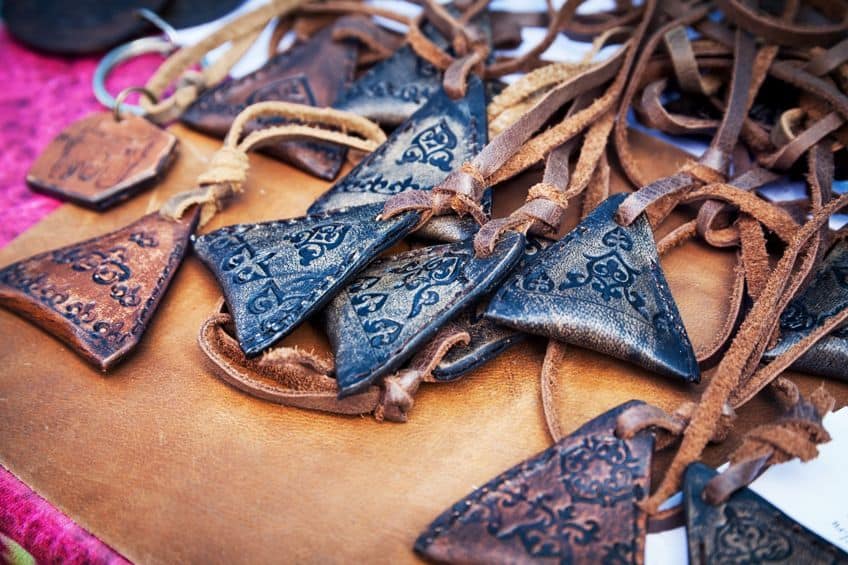
Personalized Keyring Tags
Painting leather tags for your keys is a cute, rustic way to label them. These tags can be given to family, personalized with names or pictures special to them, or can even be used to label pubic or communal keys. You can cut your own shapes out of leather making these tags easily customizable.
Do not forget to prepare your leather properly and seal it to prevent your paint from coming off with continued use.
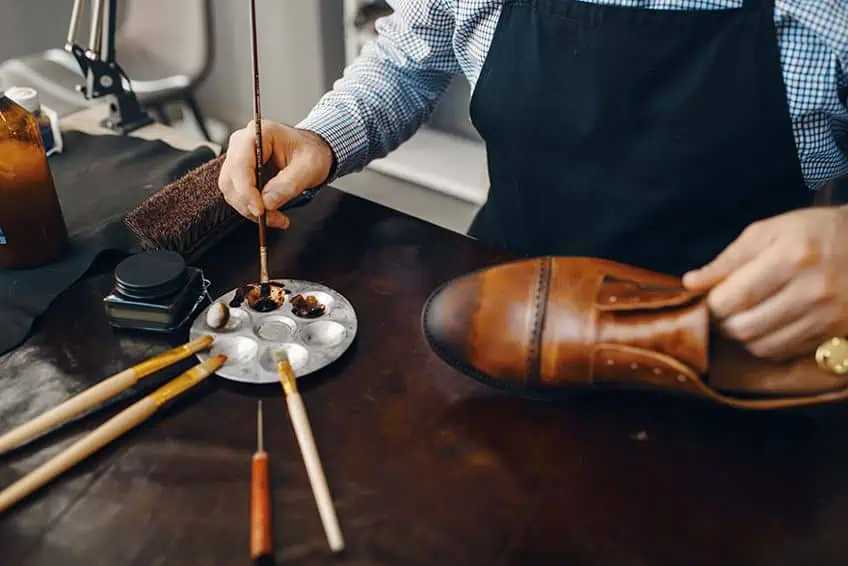
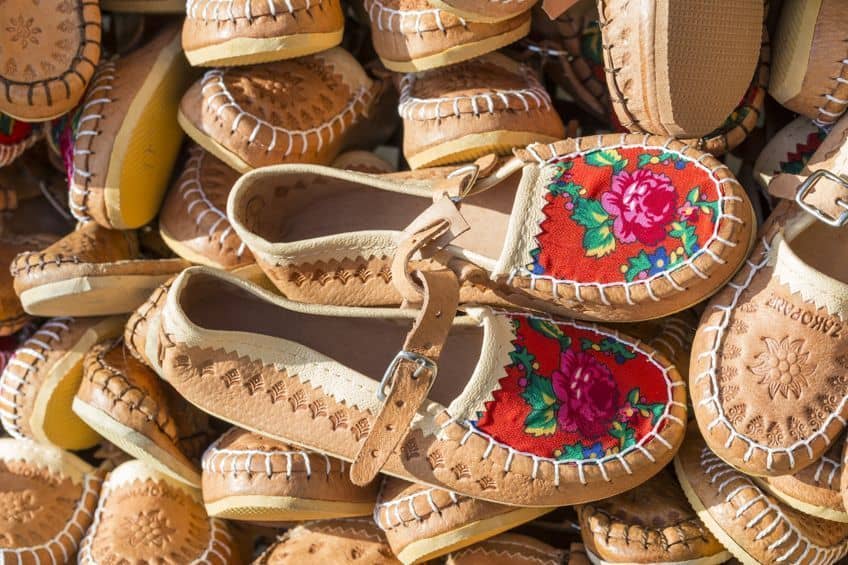
Painting Shoes
Learning how to paint leather shoes is one of the most fun activities to do and easily allows you to bring a pop of color and personality to an otherwise understated item of clothing. Shoes can be painted a solid color, with a fun abstract pattern, or with an intricate design. Stencils can be used if you are looking for something specific or masking tape can create cool geometric patterns. When choosing a leather shoes paint, it is important to consider that shoes both flex a lot and are often exposed to the elements. Because of this, you should use acrylic leather paint, as well as a finisher and waterproofer to make the durable, weather-resistant, and protect your design. Prepare your shoes by cleaning them thoroughly and removing the shoelaces before painting. Do not forget to flex your shoes throughout the painting process and use a deglazer to remove the protective shiny layer and allow your paint to adhere properly.
Painting leather can provide you with endless ways to add a personal touch to your old clothing and bags. A more practical mind can even touch up or revamp leather couches and furniture. Hopefully, this guide has given you the confidence and inspiration to explore and enjoy the boundless possibilities and creative freedom leather painting can provide.
Frequently Asked Questions
What Paint Can You Use to Paint Leather?
Acrylic leather paint is the best paint to use for painting leather, as it adheres strongly to its surface but remains flexible when dry. This makes it less likely to peel or crack when the leather is flexed, and makes it more durable than other paints. Regular acrylic paint can also be used to paint leather; however, you will need to carefully prepare the surface of your leather and the paint will need to be diluted to the same consistency as leather paint.
How to Seal Acrylic Paint on Leather?
The key to sealing acrylic paint on leather and ensuring that it does not crack or peel is through proper preparation of the leather’s surface. Be sure to wash the leather’s surface, thoroughly deglaze it, and then prime it with a thin layer of acrylic paint diluted with equal parts water. When painting the leather, use thin, even coats of paint and flex the leather in between the layers. Also, allow each layer of paint to dry completely before painting the next, and never use heat to speed up the drying process. Try to not use more than three or four layers of paint, as more layers are likely to crack. Stick to one brand of paint and remember to give your creation a layer of finisher to seal in your design after it has dried completely.
How Long Does Paint Last on Leather?
If you have used high-quality paint that has been properly applied, including preparing the leather’s surface and sealing your finished design, your paint can last between three to seven years. This will depend on how much the painted item is used or exposed to the elements, as well as how well the item is cared for both before and after painting.

Megan is a writer and researcher who holds a degree in Social Sciences, with a specialization in Psychology and Environmental Science, from the University of Cape Town. Her dedication to acquiring knowledge and making a positive impact has driven her current work in promoting conscious and sustainable growth in Southern Africa. Megan’s interests encompass exploring the physical and psychological impacts of color in our environment on our mood and well-being. She is also passionate about the role of art and creativity, which has been an integral part of society since the beginning of human history. Since 2022, Megan has been contributing blog posts on painting and color theory at artfilemagazine.
Learn more about Megan van Schoor and about us.
Cite this Article
Megan, van Schoor, “How to Paint Leather – A Guide to Using Acrylic Paint on Leather.” artfilemagazine – Your Online Art Source. March 16, 2023. URL: https://artfilemagazine.com/how-to-paint-leather/
van Schoor, M. (2023, 16 March). How to Paint Leather – A Guide to Using Acrylic Paint on Leather. artfilemagazine – Your Online Art Source. https://artfilemagazine.com/how-to-paint-leather/
van Schoor, Megan. “How to Paint Leather – A Guide to Using Acrylic Paint on Leather.” artfilemagazine – Your Online Art Source, March 16, 2023. https://artfilemagazine.com/how-to-paint-leather/.