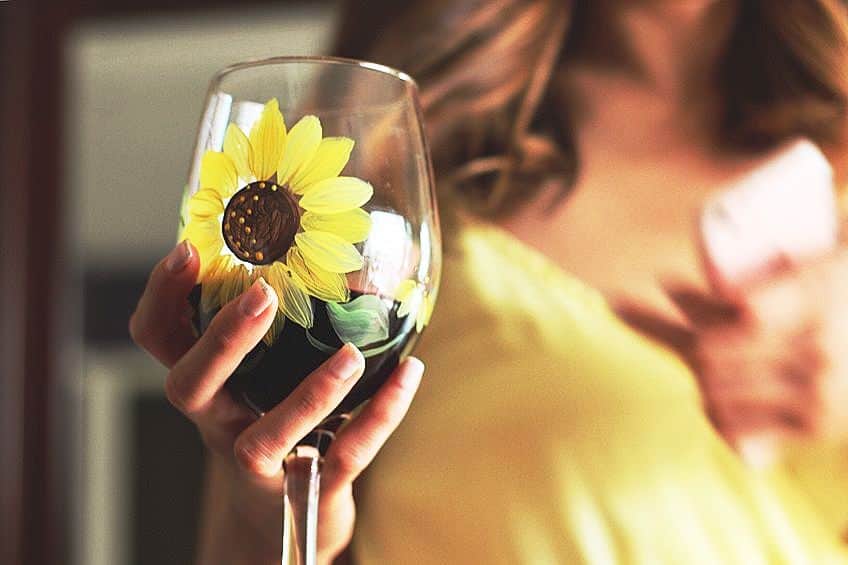
How to Paint Wine Glasses – The Art of Painting Wine Glasses
Have you ever wanted to create your own DIY-painted wine glasses but were unsure of where to start? Painted wine glasses can provide you with a fun, budget-friendly activity to mark a special occasion or personalized gifts for your loved ones. Below, we have compiled a guide for how to paint wine glasses, that covers everything from how to prepare your glass, to which paints to use to ensure it lasts.
Why Paint Wine Glasses?
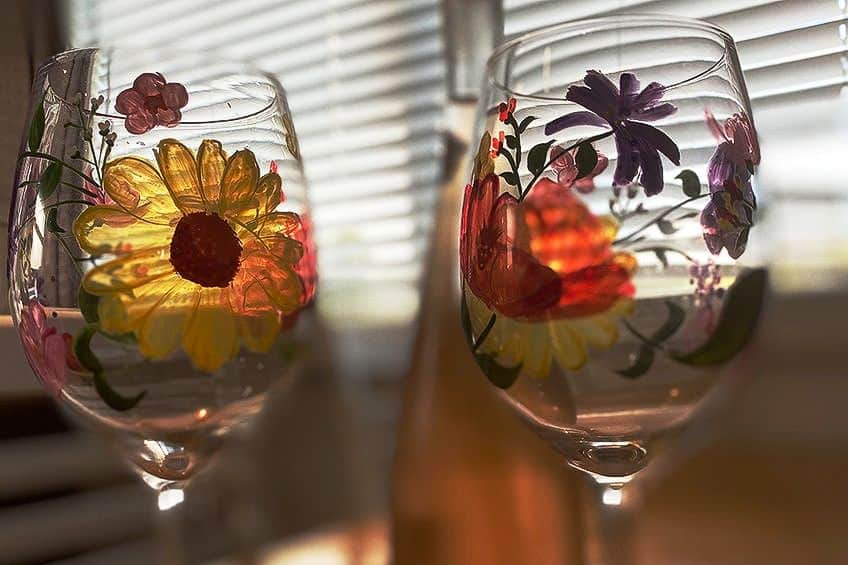
Wine glass painting is a surprisingly simple craft that can be made even easier through the use of stamps and stencils. Painted wine glasses can be used to create personalized gifts for friends, or a fun activity for a special occasion like a birthday party or bridal shower. Plain glass can be made to match your style or even adorn open shelving in your kitchen.
What Paints to Use for Painting Wine Glasses
The first thing you need to understand when painting wine glasses is the different varieties of paint available. Knowing which is the correct paint to use and how to use it is vital to ensure that you are pleased with the end look of your piece and can make sure it lasts. Paints for wine glasses come in a wide range of effects and finishes, and this is important to keep in mind when considering which one is right for your project.
| Paint Type | Drying Time | Finish | Longevity |
| Tempera | Dry within 20 minutes | Matte | Temporary |
| Acrylic | Dry within 5 to 24 hours, up to 21 days to fully cure | Opaque with several finishes available including matte, gloss, and satin options | Semi-permanent – will peel or chip off after a few years if not sealed |
| Acrylic Enamel | Dry within 24 to 72 hours, up to 21 days to fully cure | Opaque with gloss or semi-gloss finishes available | Permanent once cured |
| Oil | Touch dry within 6 to 8 hours, will need to wait 24 hours between layers | Opaque with gloss or semi-gloss finishes available | Requires a sealant to be permanent |
| Watercolor | Dry within 20 minutes | Transparent with a matte finish | Semi-permanent even with a sealant |
| Solvent-Based | Dry within 2 to 8 hours | Transparent or opaque with several finishes available including matte, gloss, and satin options | Permanent |
Tempera Paint
Tempera paint is great if you want to temporarily paint your wine glasses. While tempera paint can last for a couple of days if handled carefully, this paint is specially formulated to be washed off with warm water. This non-toxic paint is perfect for trial painting wine glass ideas before committing to a more permanent paint.
Acrylic Paint
Another great paint for temporary projects is regular acrylic paints, however, these paints can also be made permanent with proper preparation and the use of a high-quality sealant or varnish. Higher-quality acrylic paints tend to adhere better to glass, and you can add an enamel medium to make them easier to apply and adhere to. Without a sealant, acrylic paints will only last a couple of months to years on your DIY-painted wine glass without peeling or chipping. They can also be easily removed using some vinegar and a blade if not sealed.
These paints are non-toxic and offer a more opaque option than solvent or resin paint.
Acrylic Enamel Paint
Often called glass paints, acrylic enamel paints are almost specially designed for painting glass. While these paints are also water-based, they are different from your regular acrylics and readily adhere to the glass surface. These paints are dishwasher safe and permanent if cured, and their longevity can be increased with a primer and enamel topcoat. They have a gloss finish, are non-toxic, and are quick drying.
Oil Paint
Oil paints are not great paints for wine glasses as they do not adhere well to their non-porous surface. You can use a clear gesso to make the paint adhere or sand the glass’s surface. Sanding glass can damage it and create micro-shards of glass. These micro-shards can remain on surfaces or get into your eyes and airways, so it is important that you wear a pair of goggles, a mask, and gloves if you are using this method. Oil paints also produce strong toxic fumes, so should be used in a well-ventilated room.
Oil paints are slow drying and will require a lot of time to set between layers, as well as a sealant to give it more staying power and longevity.
Watercolor Paint
Watercolors are also not very good for painting glass. Not only do the thin paints tend to run down the smooth surface of the glass as you are painting, but they do not adhere well nor have much longevity. These paints are very sheer meaning you cannot see them very easily on the glass and will need multiple layers. If you want to use watercolors to decorate wine glasses, try using less water to dilute them or even add a small amount of acrylic paint to thicken them slightly.
Watercolor paints will need to be sealed to last on wine glasses.
Solvent-Based Paint
There are many different varieties of solvent-based paints, however, glass stain is the best one to use on glass. Stain comes in transparent or opaque finishes and has a high viscosity that makes it more resistant to running on smooth surfaces like glass. Glass stains can be more difficult to use than acrylic paints but are also quick-drying and water-resistant once dry. Glass stains are oil-based and provide you with a permanent option for your wine glass paintings that does not require a sealant. It does this by altering the surface of the glass, so it forms a permanent bond.
Like other oil-based paints, glass stains produce fumes that are flammable and toxic. They are also more costly than many of the other glass paint options.
Important Considerations When Choosing Paint for Wine Glasses
Several of these different paints come in air-dry and heat-dry varieties. Painted glasses that are baked, or heat dried, tend to last longer and be more durable than those that were air-dried. Many of the paints for wine glasses are opaque, and adding more layers will make it easier to see your design. Transparent options let light through and create stained-glass effects.
The sealant or varnish that you use will also affect the final look of your wine glasses. They come in a variety of finishes such as matte, gloss, frosted, and even glitter.
The color and texture of your wine glass can also impact your design so test your paints on a spare wine glass or in an area that can easily be hidden, such as underneath its base. The paint that you choose will ultimately come down to your level of experience, how long you want your paint to last, and the effect you are trying to achieve.
Food safety
While some paints may be considered non-toxic, they are still not food safe. Because of this, you should avoid painting any surface of your wine glasses that will come into direct contact with food, drink, or your mouth. Only paint the outside of the glass and do not paint the top ¾ inch of the rim. Be sure to keep these areas clear of any sealants you use as well.
Step-by-Step for Painting Wine Glasses
After selecting the paint that is right for you, you can now start to decorate your wine glasses. Following these simple steps will make painting wine glasses a breeze and ensure that they last.
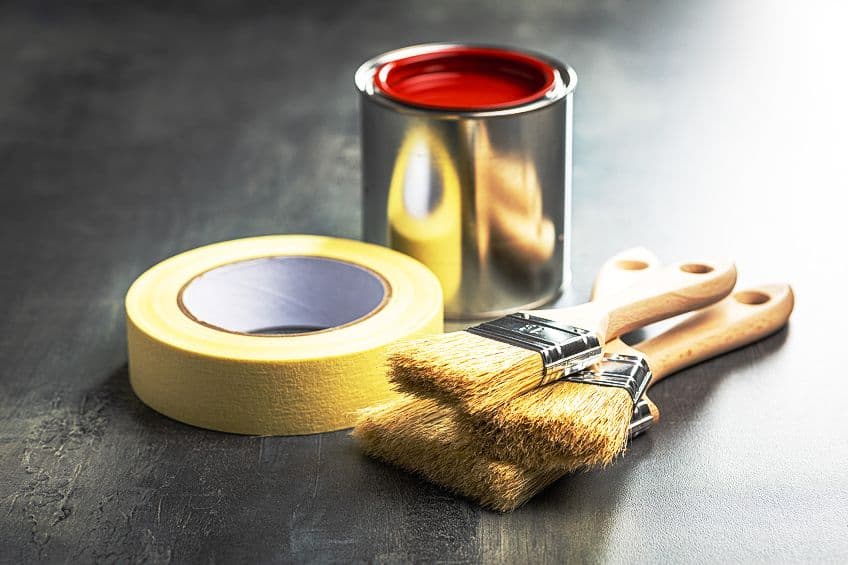
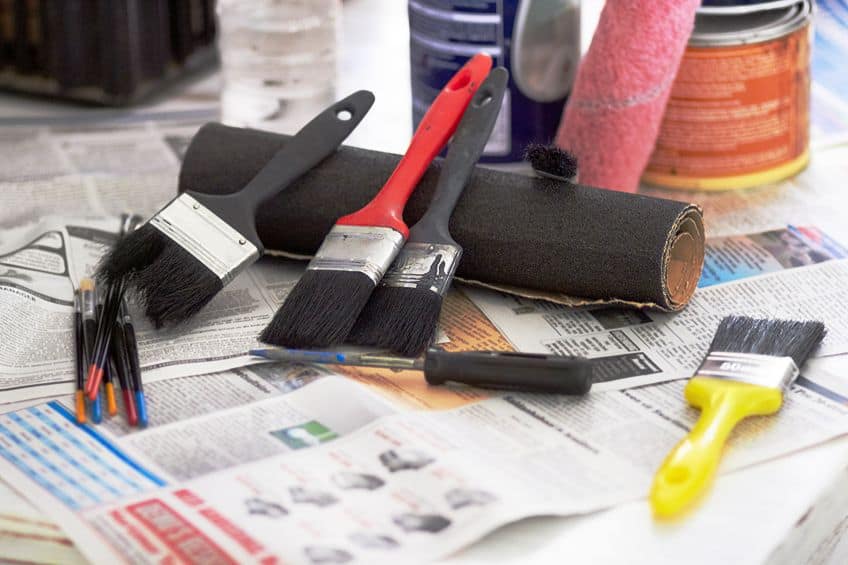
Necessary Materials
- Wine glass
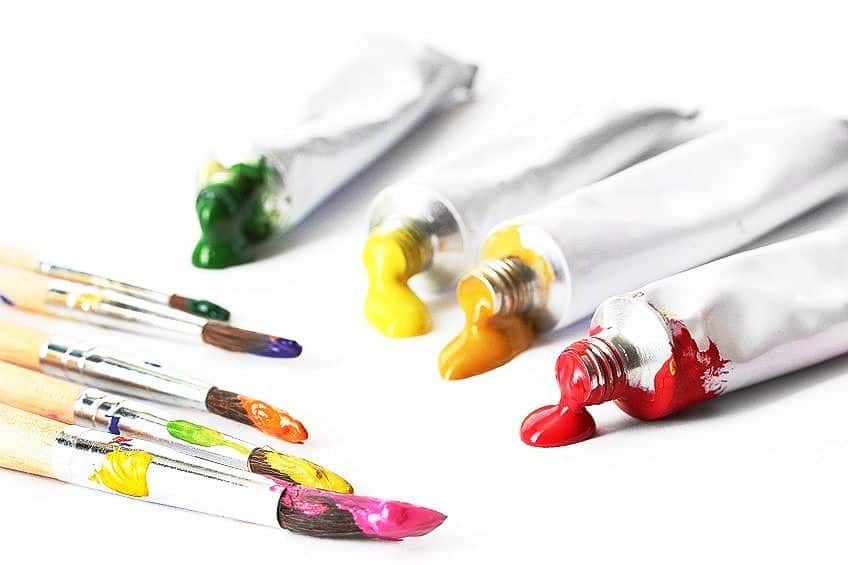
- Paint of your choice
- Warm soapy water
- Rubbing alcohol or vinegar
- Pencil and paper
- Scissors
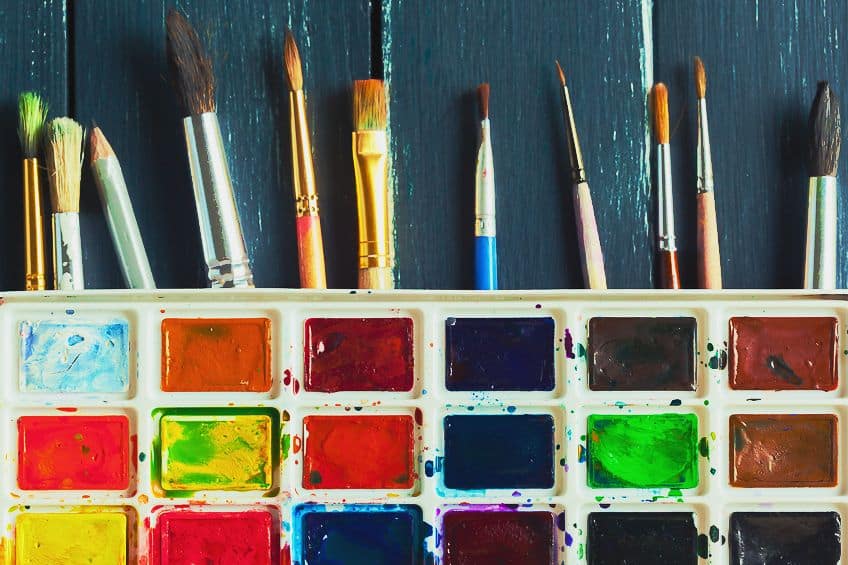
- Various paint brushes or sponges
- Water to rinse your brushes
- Paint palette
- Painter’s tape
- Sealant
- Oven
Step 1: Select and Prepare Your Paint
Before you begin preparing your paints, lay down a tarp, sheet, or old newspaper to protect your work surface. Some tempera paints come in powdered forms, and you will need to mix each color in separate cups by adding drops of water until it reaches your desired consistency. Some watercolor paints will also need to be mixed prior to painting. Use less water than you would for painting on a canvas or add some acrylic paint to thicken premixed ones.
Acrylic, oil, and solvent-based paints can often be used directly out of the tube; however, you should still read the manufacturer’s directions before starting your project.
Remember that oil and solvent-based paints should be used in a well-ventilated room because of the fumes they produce. If you want your colors to stand out more on glass, try adding a small quantity of white paint to your colors to make acrylic and acrylic enamel paint appear more vibrant. Adding clear paint to solvent-based paints will also make the colors brighter without changing the paint’s opacity.
Step 2: Planning
To avoid unexpected surprises it is useful to plan out your wine glass painting designs before your start. Painting directly on the curved surface of glass can make you end up with a distorted piece, so sketch out your design on paper to work out the colors and proportions of your design. This sketch can also be used as a stencil later so take your time mapping everything out.
You can also print out a design you wish to trace onto your glass and cut it out or buy ready-made stencils.
Now is the perfect time to try out different tools and colors to see how they work on your wine glass. You can even try out different paints and sealants on a spare glass to see how they affect the final look of your piece. Swatching your paint and sealants is a good way to test out how different colors and finishes appear on your glass as well as how well they adhere to your wine glass once dry.
Step 3: Prepare Your Wine Glass
To prepare your wine glass for painting, wash the glass using soap and water and then allow it to dry. After the wine glass has dried, use rubbing alcohol on the area you will be painting to wipe off any residual soap, oils, or dust that may be on its surface. Vinegar is also a good option if you do not have any rubbing alcohol. Leave the glass for 10 minutes to allow the alcohol to completely evaporate and ensure that your wine glass is completely dry before you begin painting.
Try to avoid touching the section of glass you plan to paint after cleaning it, or consider using gloves to prevent getting oils or fingerprints on its surface.
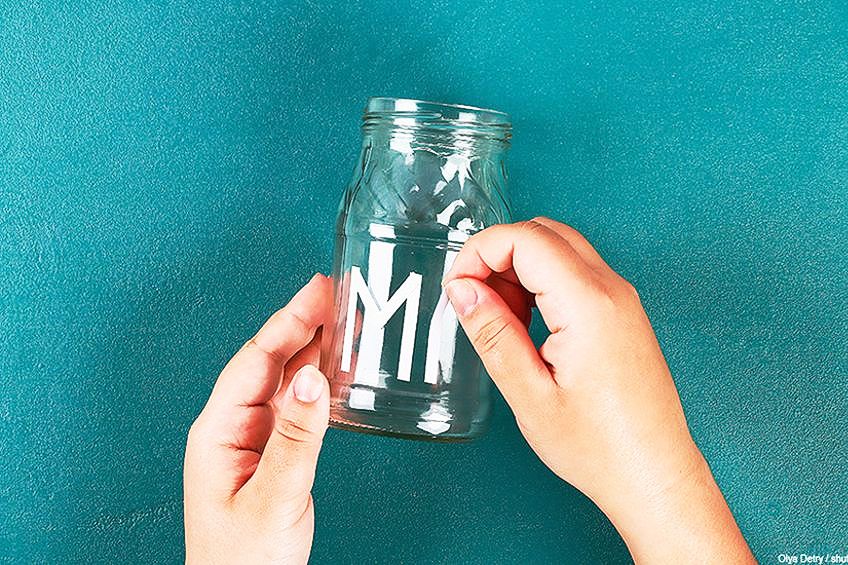
Step 4: Transfer Your Design
Add tape to the rim of your glass and any other parts that you do not want painted including the rim of the glass. Not only are paints and sealants not food safe, but they will also come off quickly if they come into contact with lips and foodstuff often. Now is the time to attach your stencil design to the inside of your glass with some tape. If you are having trouble making the paper sit flush with the glass, you can put in a rolled-up sock or something similar to keep it in place.
You can either paint the outline or trace the design onto the outside of the wine glass using a fine point sharpie, which can be painted over or removed later with rubbing alcohol or nail polish remover.
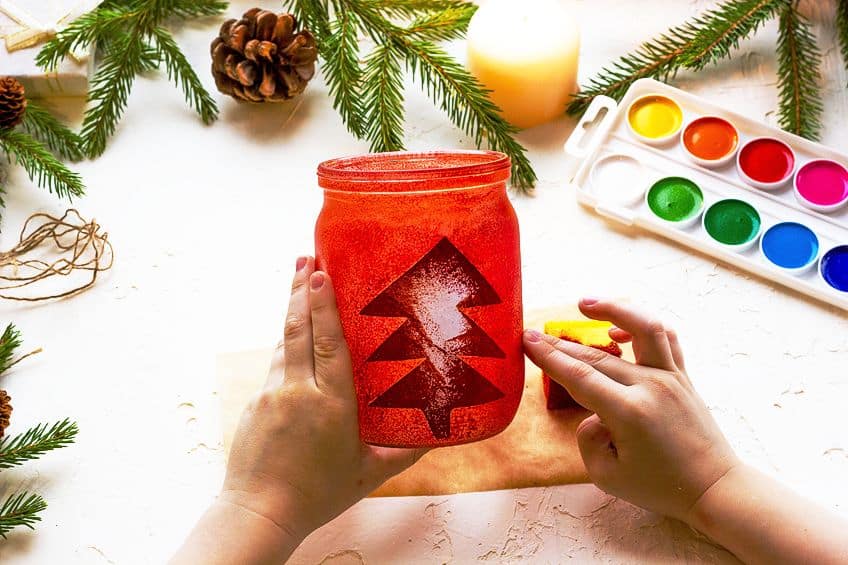
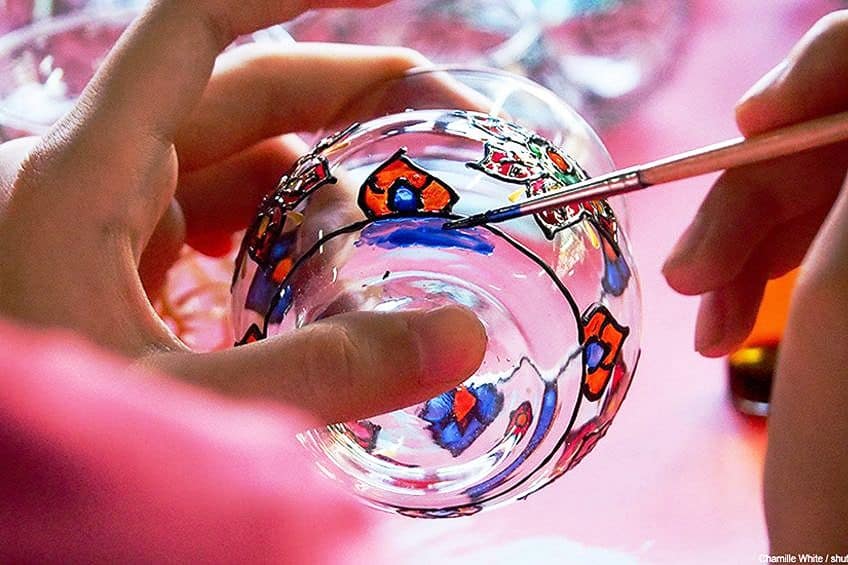
Step 5: Paint Your Wine Glass
Once all the preparations have been done it is time to decorate wine glasses. Using one color at a time, start painting the glass working from top to bottom so that you do not smudge your paint. Allow your paint to dry between colors and coats to minimize colors bleeding and ensure that the paint adheres properly when dry. Try to avoid painting the edges of your tape and remove any tape once the paint is dry to the touch, but before it completely sets to prevent it from lifting your paint. You can clean up the edges with a cotton bud dipped in nail polish remover or by using a blade to scrape off the dried paint.
Sponges are great for creating interesting patterns or covering large areas in a single color.
Brushes with natural bristles will give you a smoother finish with less visible brush strokes than brushes with synthetic bristles. Be sure to clean your brushes thoroughly in between colors and pop any air bubbles in your paint before it dries using a toothpick. If using oil paints, remember your fat-over-lean technique and ensure that your layers of paint increase in thickness as you work otherwise the paints will take longer to dry and be more susceptible to chipping and peeling. If using watercolors, use masking fluid to preserve your design’s highlights and allow it to dry completely before painting as usual.
Step 6: Protect Your Design
To finish off your design and make your glasses dishwasher safe, it is important to cure or seal them. Acrylic, enamel, and solvent-based paints can all be cured, while other paints will need to be sealed to become permanent. Follow the manufacturer’s instructions of your sealant carefully and be sure to keep it off the inside or rim of the wine glass. The two methods of curing are air curing or heat curing. To air cure, simply leave your painted wine glasses in a cool dry area for 21 days to set completely. If you prefer to heat cure your wine glasses, allow them to dry for 24 hours and then place them in a cold oven and bake them for 20 minutes at 350 °F.
Keeping the door closed, switch off your oven, and allow the wine glasses to cool completely before opening the door and removing them. This prevents your glasses from experiencing any extreme temperature changes, which could cause them to break.
You can allow the glasses to cool in the oven overnight if you are unsure. Wait another three days after heat curing before using or washing your glass. Both methods will ensure that your paints adhere to your wine glass for many years, however, some people say that the paint lasts longer with heat-cured glasses. Cured paints are dishwasher safe, however, they should still be handled with care and should not be allowed to soak in water for long times. You can use your glasses without curing them once they are dry to the touch, however, you should avoid washing the paint and definitely do not attempt to wash them in the dishwasher.
Creative Painting Wine Glass Ideas
The hardest part about painting wine glasses is deciding what you are going to paint. You can easily make your own DIY painted wine glasses for special occasions, gift baskets, or holidays. Why stop at painting traditional wine glasses? Champagne, martini, and whiskey glasses can also be painted with cool and interesting designs.
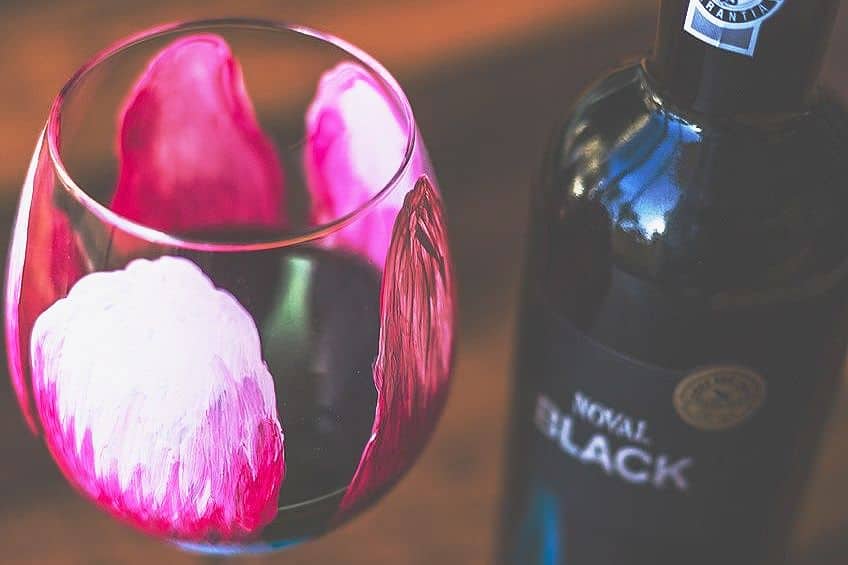
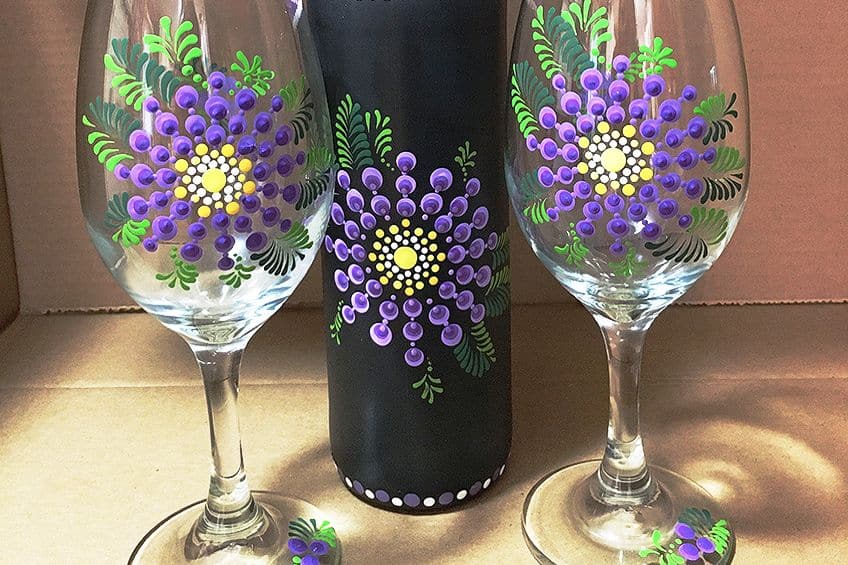
Use Simple Designs
Abstract and geometric patterns are perfect from painting on glasses. Dots, swirls, stripes, and flowers are all great options that do not require much artistic skill. Abstract designs do not have to be perfect, in fact, having different sizes and orientations adds more visual interest to a plain pattern. Do not forget the stem and base of your wine glasses. If you are doing a flower design, try adding a stem or vine that wraps around the stem to connect the base of the bowl to the foot of the glass.
Mosaic glasses can be made with a simple geometric pattern. Use your tape to create random geometric shapes on your wine glasses and then paint each window in a different color. Peel off the tape before the paint dries completely to reveal a cool mosaic effect.
Fun Holiday Activities
Share a special moment with your valentine by creating a set of matching wine glasses. Keep things simple by cutting hearts out of tape and sticking it to the glass. You can add any number of stickers of different shapes and sizes and arrange them on your wine glasses to create different designs. Once you are happy with the placement of your stickers, you can then paint the glasses using your chosen paint. Use a sponge to go over the borders of the stickers and then use a small brush or even a cotton swab to add some fun shapes.
If you are looking for a more minimalistic look, a frosted or metallic acrylic spray paint can be an easy option.
Allow the paint to dry slightly and then carefully peel the stickers off to reveal the unpainted glass windows beneath. Add some chocolates to the glass for a cute Valentine’s Day gift or use them to share a bottle of wine over dinner. Toast with your painted wine glasses to bring in the new year with a bang. Drip art is a very easy way to create interesting designs and does not require any artistic skills.
Start by placing your wine glass upside down on your workspace and then slowly drip or paint lines of paint from the base of the glass down towards its rim, ending about halfway down. To add that festive feeling, you can also use metallic or glitter paints to decorate wine glasses or add small stars and sparkles. Painting the glasses can even make for a fun New Year’s Eve party activity for you and your friends.
Be careful not to use paints that are too thin as you run the risk of them running all the way down your glass, which will create a harsh line when you remove the tape from its rim.
Try Acrylic Marbling
If you have stemless wine glasses or whiskey glasses, try out an acrylic pouring marble effect on the base of your glasses. You can use acrylic paints to easily create a marble effect by adding a marbling or pouring medium to your paint. Mix your paint by either adding twice as much marbling medium than the total amount of paint or just enough pouring medium to give the paint a consistency like motor oil.
Pour your different colored paints, one at a time, into a disposable container such as a foil baking pan.
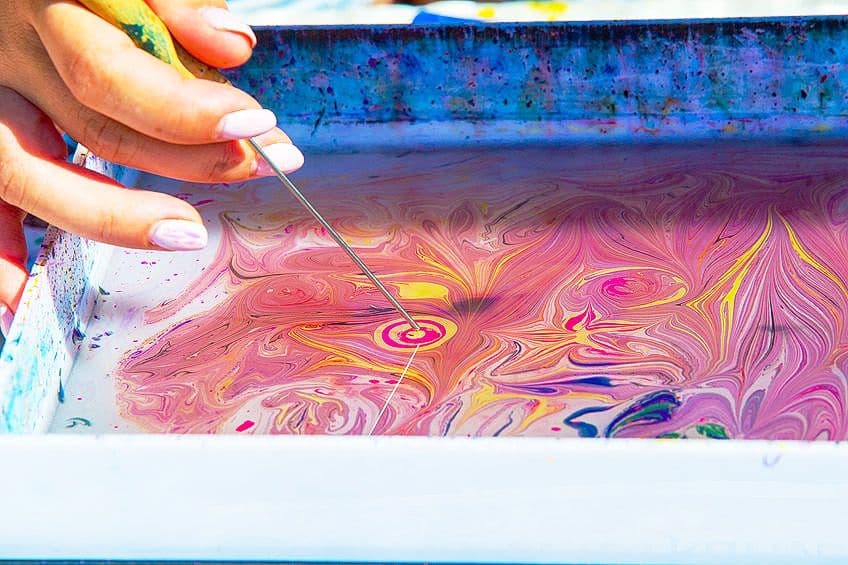
Use a spoon or toothpick to swirl and drag the paint around. Gently lower the base of the glass into the paint and lift it straight up out of the paint and allow the excess to drip off the glass. You can rest the glass upside-down to dry, or create a stand out of some pins that have been pushed through cardboard. After about half an hour you can dab off any excess paint at the base of the glass so that it dries quicker and does not peel off once dried.
Painting wine glasses is a surprisingly easy way to create a unique gift or provide an afternoon of fun for all ages. By choosing the correct paint and following a few simple steps, your painted wine glasses can last for many years.
Frequently Asked Questions
How to Paint Wine Glasses With Acrylic Paint?
To ensure that your paint sticks to your wine glass, clean it using soap and water, and then use rubbing alcohol or vinegar to remove any residual soap. Once all the alcohol has evaporated, you can then paint your wine glass. Paint using thin layers, allowing each layer to dry before painting the next one. Avoid painting the top ¾ inch from the rim of the glass, as most paints are not considered food safe and will be quickly worn away if constantly exposed to liquids. Once you have finished painting your wine glass, cure the paint to ensure that it can be washed. You can do this either by allowing it to dry undisturbed for 21 days, or by baking it in an oven at 350 °F for 20 minutes. Start with the wine glass in a cold oven and then switch the oven off after 20 minutes, leaving the door closed and the wine glass inside until it has cooled completely.
What Are the Best Paints for Wine Glasses?
The best paint to use for painting wine glasses is acrylic or acrylic enamel paints. These paints are both water-based paints that are non-toxic and easy to use on the smooth glass surface. Acrylic enamel paints, in particular, adhere easily to glass, and become dishwasher-safe once they have been cured without the need for a sealant.

Megan is a writer and researcher who holds a degree in Social Sciences, with a specialization in Psychology and Environmental Science, from the University of Cape Town. Her dedication to acquiring knowledge and making a positive impact has driven her current work in promoting conscious and sustainable growth in Southern Africa. Megan’s interests encompass exploring the physical and psychological impacts of color in our environment on our mood and well-being. She is also passionate about the role of art and creativity, which has been an integral part of society since the beginning of human history. Since 2022, Megan has been contributing blog posts on painting and color theory at artfilemagazine.
Learn more about Megan van Schoor and about us.
Cite this Article
Megan, van Schoor, “How to Paint Wine Glasses – The Art of Painting Wine Glasses.” artfilemagazine – Your Online Art Source. May 29, 2023. URL: https://artfilemagazine.com/how-to-paint-wine-glasses/
van Schoor, M. (2023, 29 May). How to Paint Wine Glasses – The Art of Painting Wine Glasses. artfilemagazine – Your Online Art Source. https://artfilemagazine.com/how-to-paint-wine-glasses/
van Schoor, Megan. “How to Paint Wine Glasses – The Art of Painting Wine Glasses.” artfilemagazine – Your Online Art Source, May 29, 2023. https://artfilemagazine.com/how-to-paint-wine-glasses/.